Frame-by-frame Animation
Remember, Before You Leave Class Today, Save Your Work and Upload It To Google Classroom
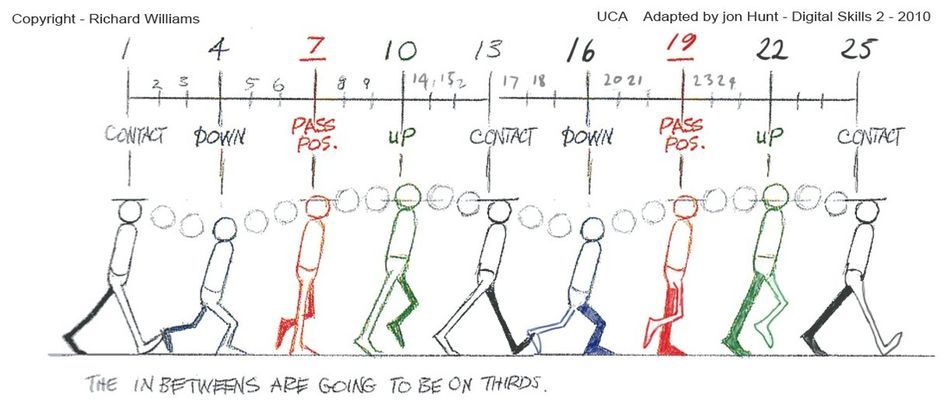
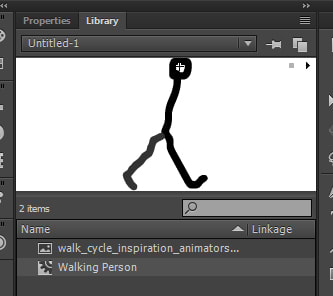
We are going to create a walking cycle
Use This Image As A Reference
After you turn on your computers, log in, and start Adobe Animate,
Select "Insert > New Symbol"

Choose The "Movie Clip" Type Option, and Click "Okay"

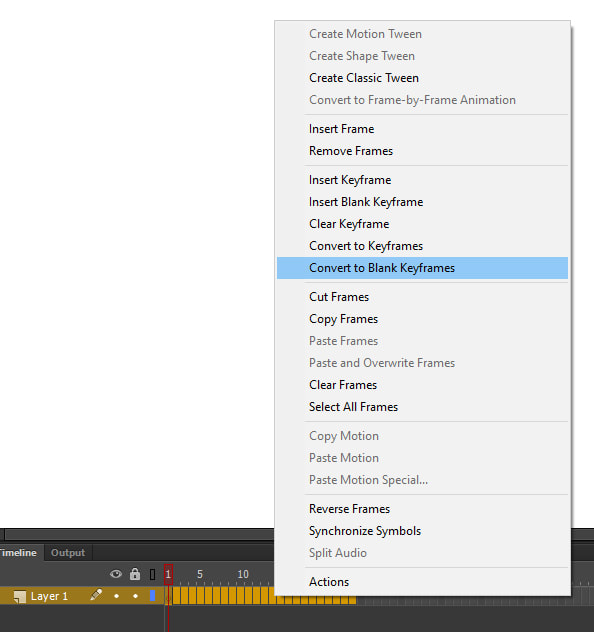
Select The First Twenty-Four Frames In The Timeline Of Your Movie Clip, Right Click The Selection, And Select "Convert to Blank Keyframes"
 |  |
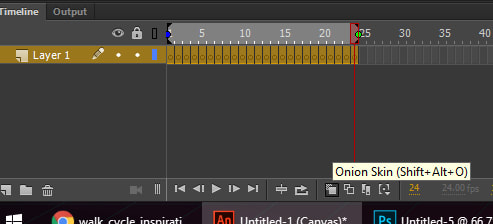
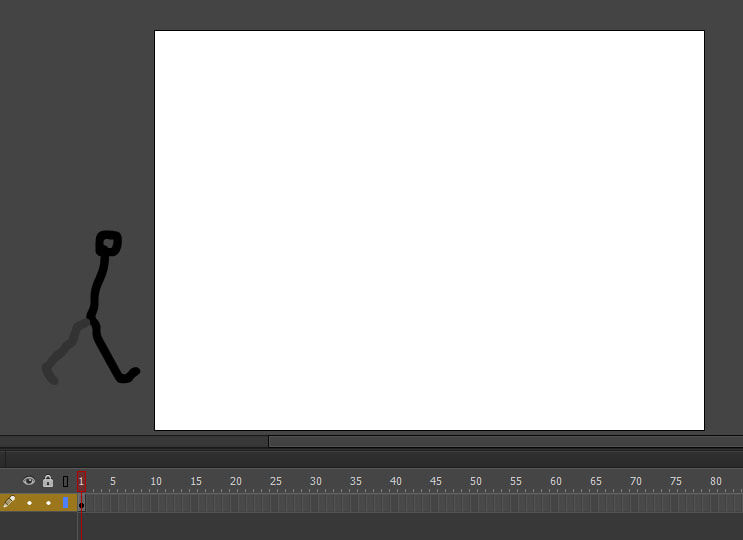
Select The "Onion Skin" Button Below The Timeline To Display The Onion Skin Option
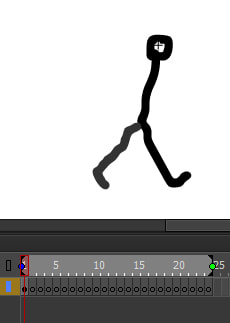
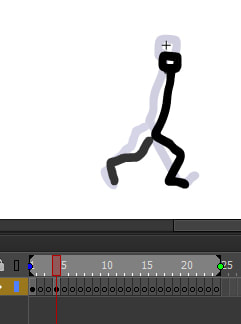
Select The First Keyframe, And Draw Your First Figure
Select The Fourth Keyframe, And Draw Your Second Figure
Because Onion Skinning Is On, You Should Be Able To See The Drawing You Made On The First Keyframe
Select The Seventh Keyframe, And Draw Your Third Figure
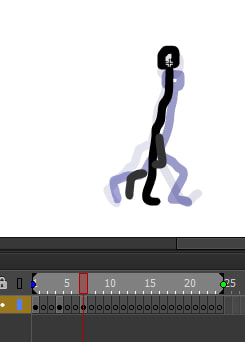
Repeat This Process For The Tenth, Thirteenth, Sixteenth, Nineteenth, Twenty-Second, And Twenty-Fourth Frames
The Twenty-Forth Frame Should Look Similar (Almost Identical) To The First Frame, To Ensure That Your Movie Clip Loops Correctly In The Final Animation
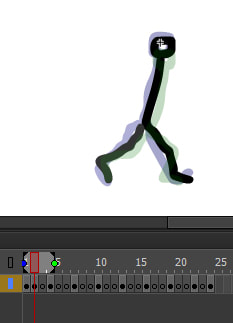
At This Point, If You Play Your Animation, It Should Look Like This
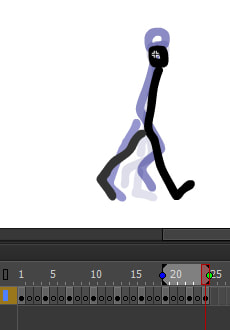
Next, Fill In The Frames In Between The Frames You Have Already Created
You Will Draw In Frames Two, Three, Five, Six, Eight, Nine, Eleven, Twelve, Fourteen, Fifteen, Seventeen, Eighteen, Twenty, Twenty-One, and Twenty-Three
 | 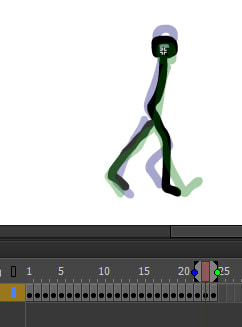 |
When You Have Finished, Your Animation Should Look Like This
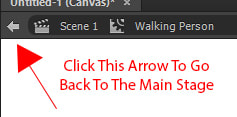
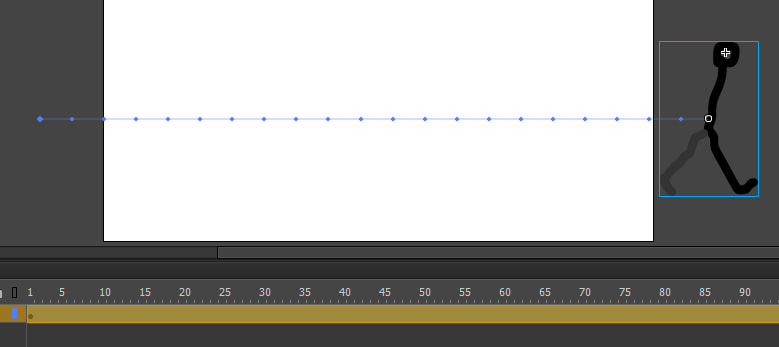
Return To The Main Stage, Open The Library, And Drag Your Movie Clip To One Side Of Your Stage
 |  |  |
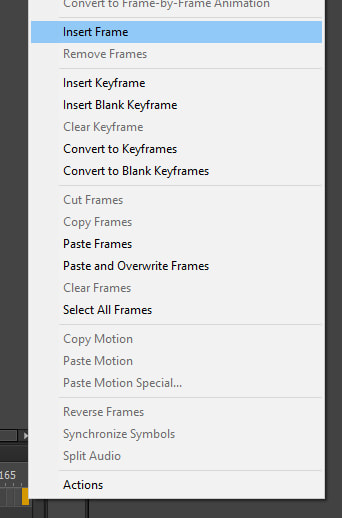
Right-Click Into Frame 168 And Select "Insert Frame"
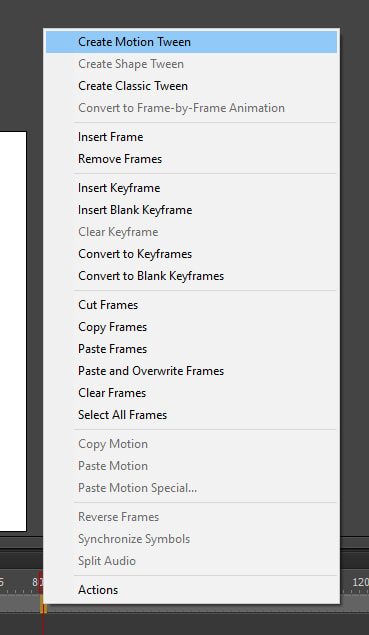
Right-Click On The Timeline (Between Frame One And Frame 168), and Select "Create Motion Tween"
Move The Playhead Over Frame 168, Hold Down The Shift Key, And Move Your Movie Clip To The Opposite Side Of The Stage
 |  |
If You Play Your Animation In Adobe Animate, It Should Look Similar To This:
Select "Control > Test Movie > In Browser" To See Your Animation
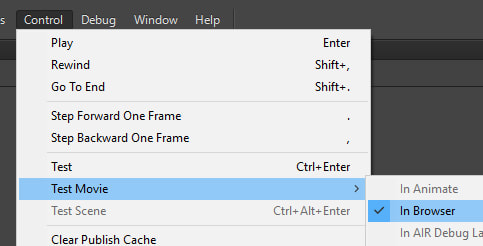
It Should Appear In A Web Browser, And Look Similar To This:

 RSS Feed
