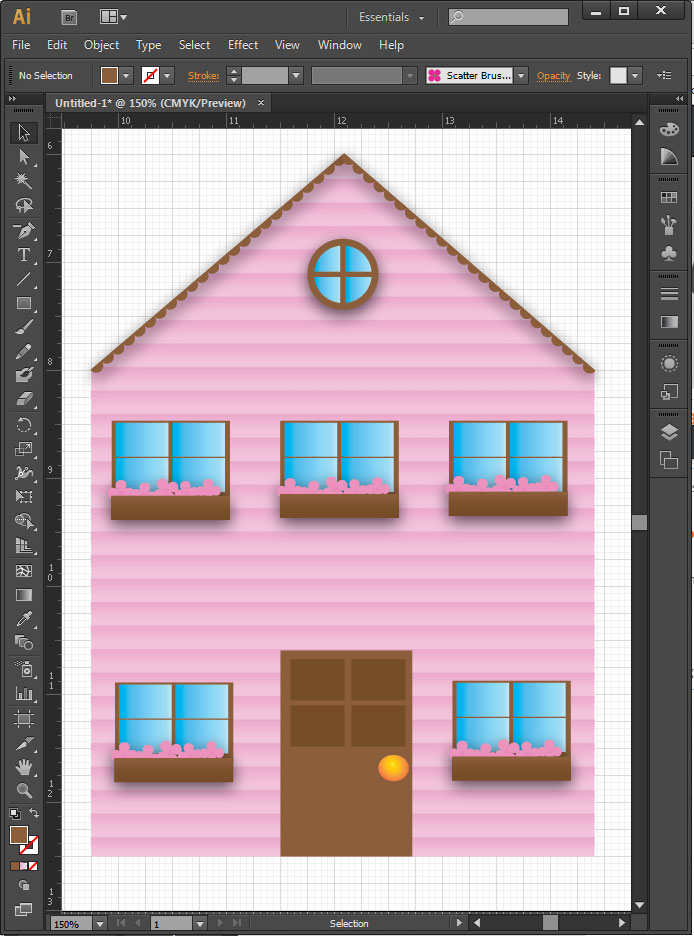
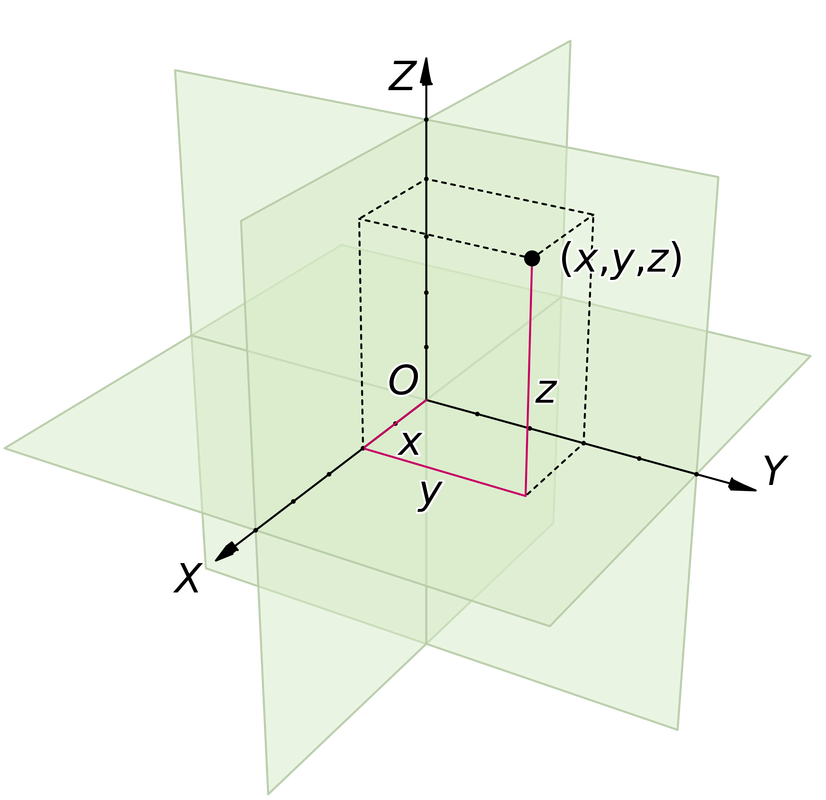
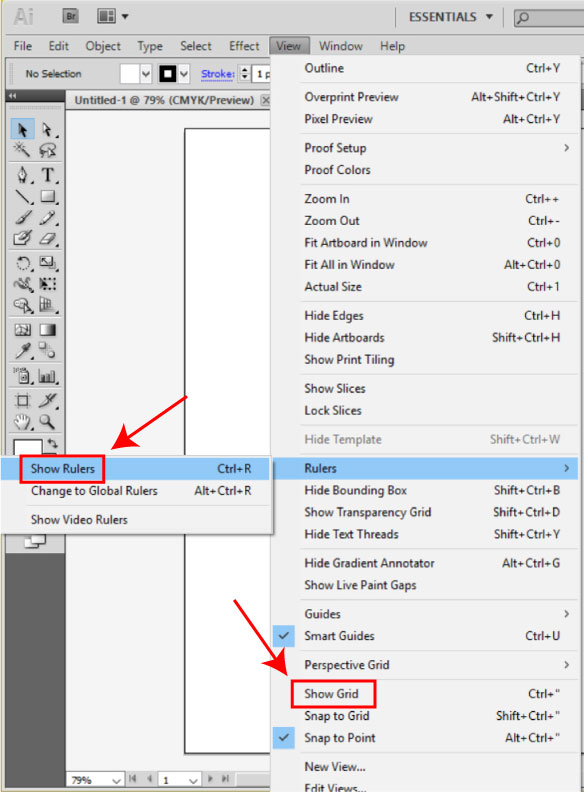
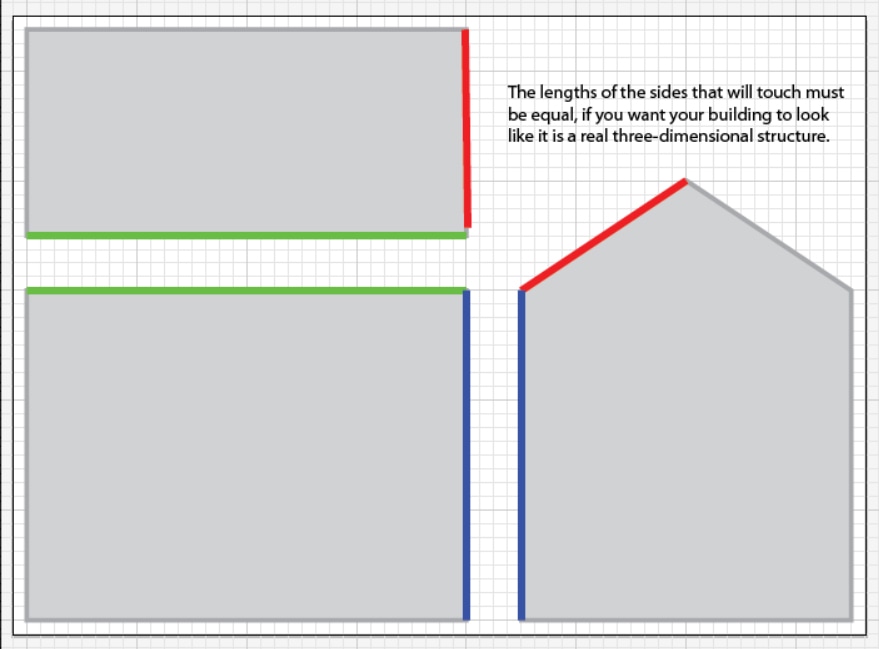
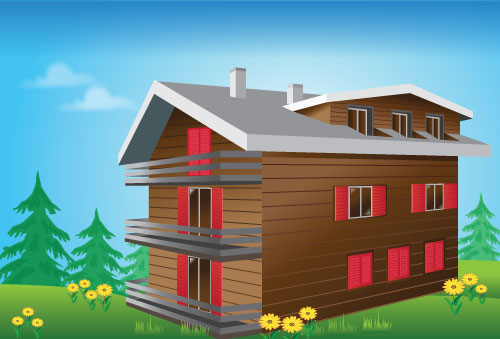
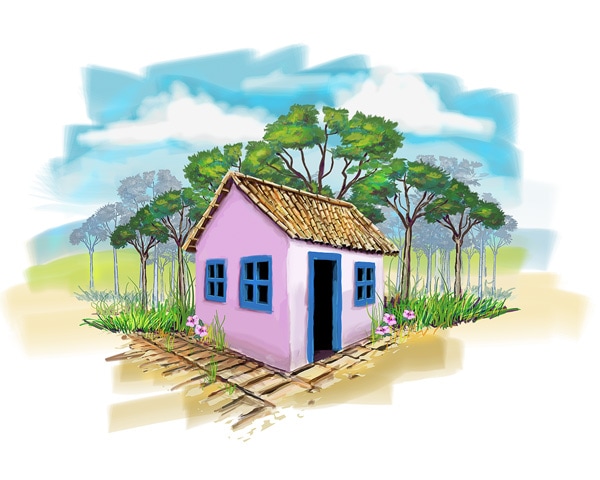
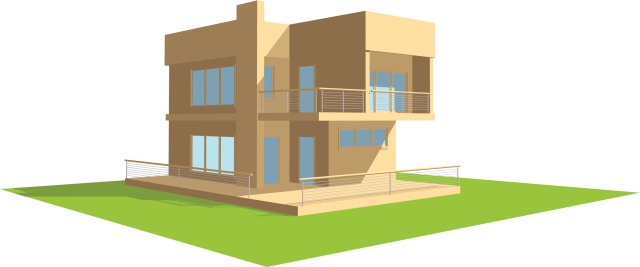
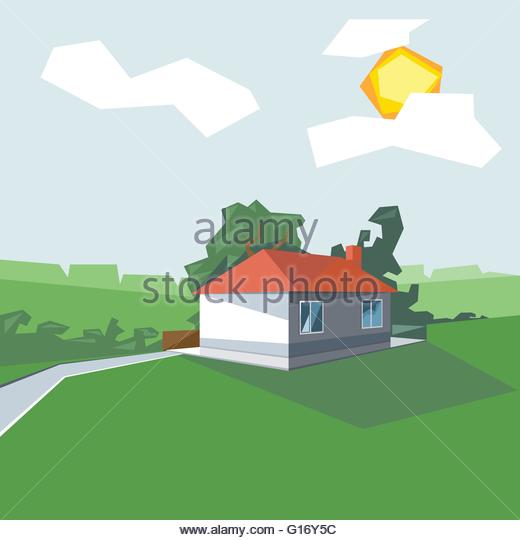
January's Second ProjectYou can think of January’s second project as a portfolio piece to present during job interviews with architecture firms. Your drawing should look similar to the drawings below; except that your drawing will be placed into an actual photograph and made to look like they actually belongs in the photo through the use of Photoshop filters, adjustment layers, and layer blending modes. Your architectural concept drawing should include three sides – representing the x, y, and z axes of the three-dimensional Cartesian coordinate system – created separately in an Adobe Illustrator document, put together using Illustrator’s Perspective Grid (we will look at how to do this later), and finally placed into a photograph using Adobe Photoshop. In addition to two walls and a roof, we will determine what other items your building should include in class. Start by creating your house, in Illustrator. First, create a detailed flat (2-D) house. Use grids, rulers, and guides to help you line things up and make them look good. Don't worry about placing it on the Perspective Grid yet. Your house should look awesome before you place it on the perspective grid. The first step will be to create the front, one side, and the roof of your building in Illustrator. To insure that we do this in a way that looks consistent, when comparing pieces to each other, we will be using rulers and grids in Illustrator. When you are finished creating the walls and roof, you should add the determined details (we will discuss these in class). Be sure to group each wall and the roof with their respective details (how to group and ungroup objects) when you have finished creating those details. Here's a tutorial for the adventurous. January's second project is not based on this tutorial, but you can see how to create a three-dimensional looking house in Adobe Illustrator.
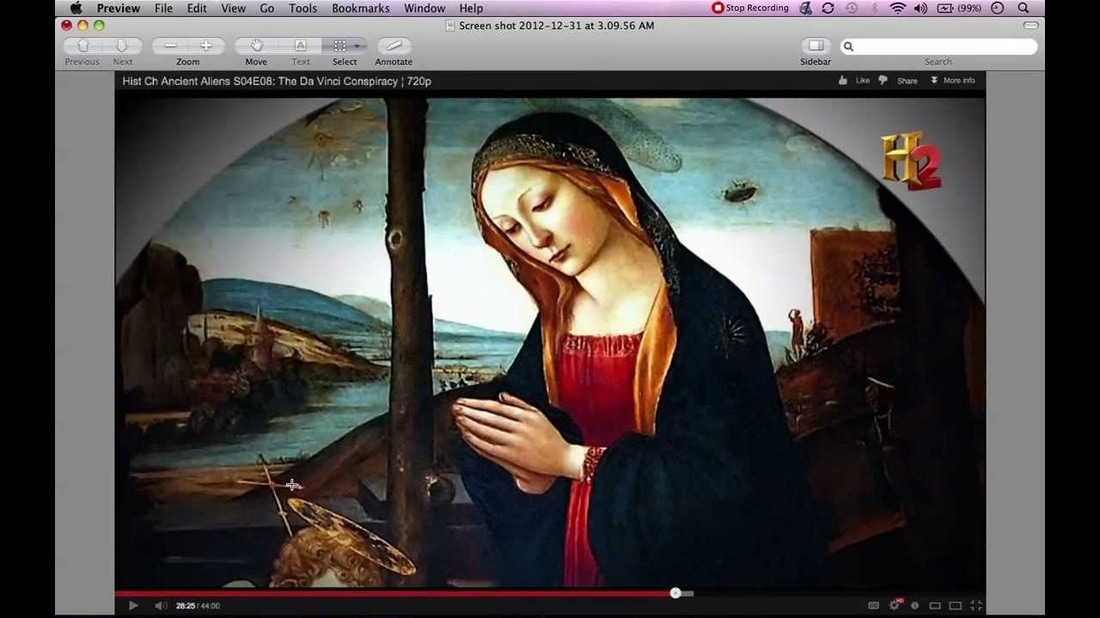
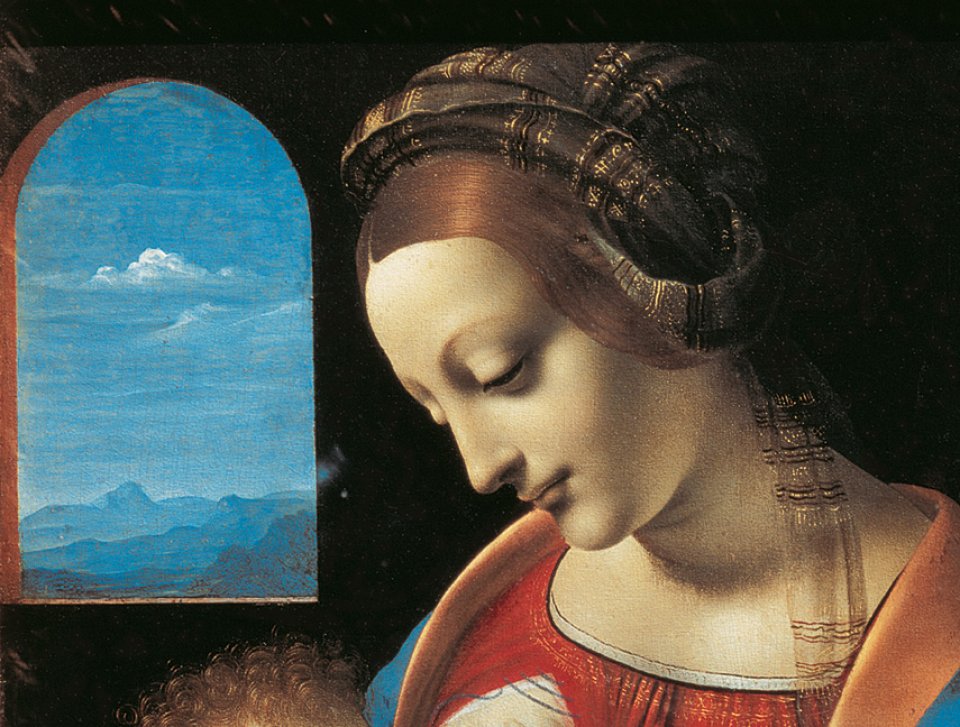
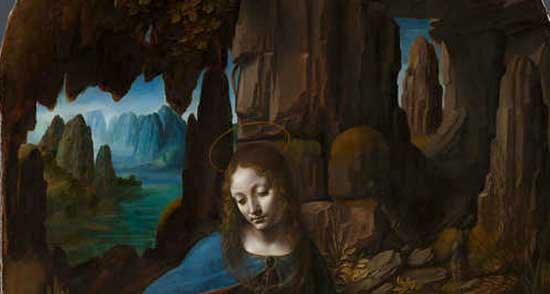
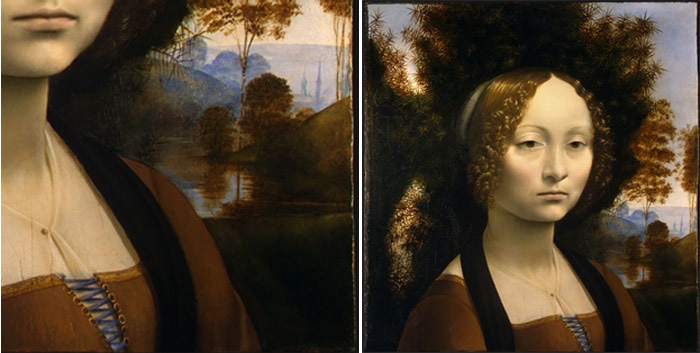
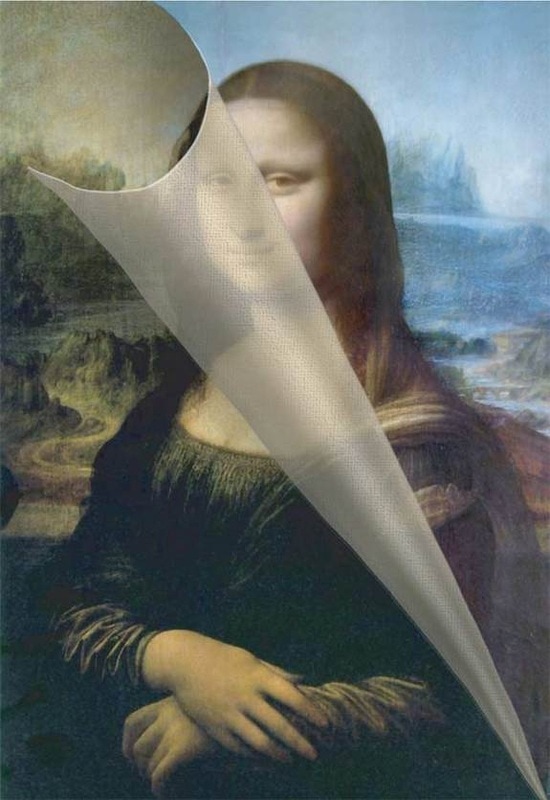
VocabularyPicture plane: the flat surface or plane in which the artist organizes the picture. Scale (related to proportion): a technique where the artist makes one object larger than another in order to cause the larger object to appear closer to us than the smaller object. Overlapping: a technique where the artist creates the illusion of depth by placing one object in front of another. High-low placement: a technique where the artist places an object lower in the picture plane to make it appear closer to us than another object that is placed higher. Arial perspective: a technique where the artist reduces the detail, and color intensity, as well as shifts the hue of an object toward the blueish end of the visible light spectrum in order to give the illusion of distance. Illusion of Depth: Scale, Overlapping, and High-Low PlacementIllusion of Depth: One of the Things da Vinci Observed First, we will present our group projects In Which Group Am I? Next, we will continue to work on our houses First option: Start by creating your house, in Illustrator. First, create a detailed flat (2-D) house. Use grids, rulers, and guides to help you line things up and make them look good. Don't worry about placing it on the Perspective Grid yet. Your house should look awesome before you place it on the perspective grid.  Second option: Use this tutorial. This is for the brave. Mister Richards has not done this, and he will not be able to help you. If you choose to follow the tutorial, you will be doing it by yourself. You must be brave to follow this tutorial.
In Which Group Am I?
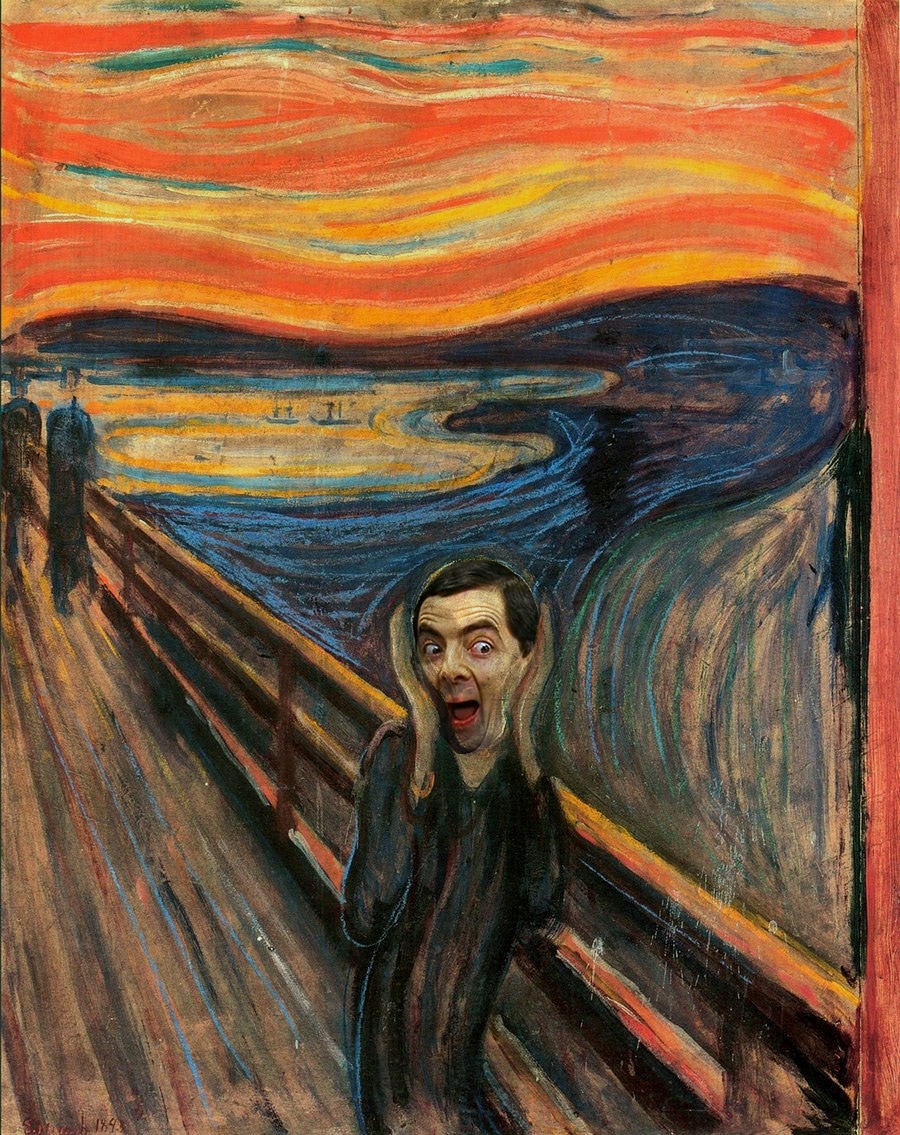
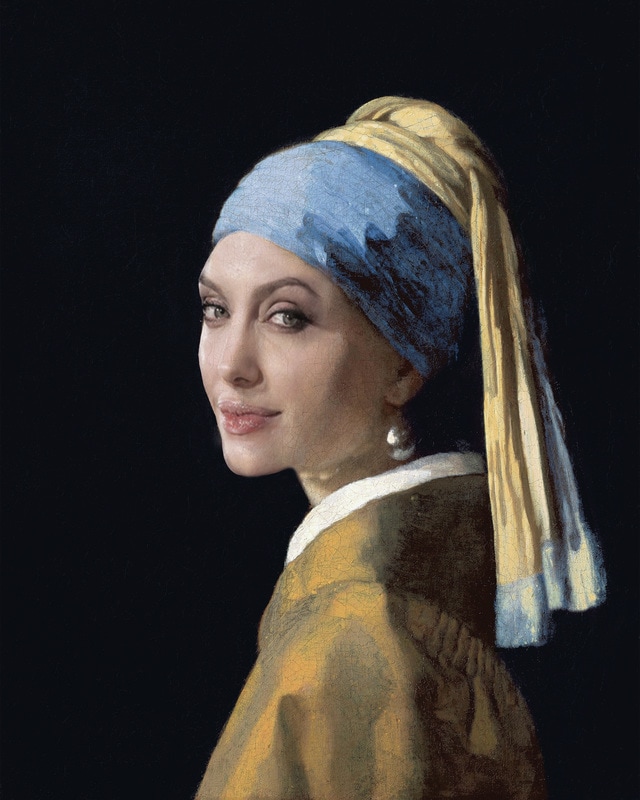
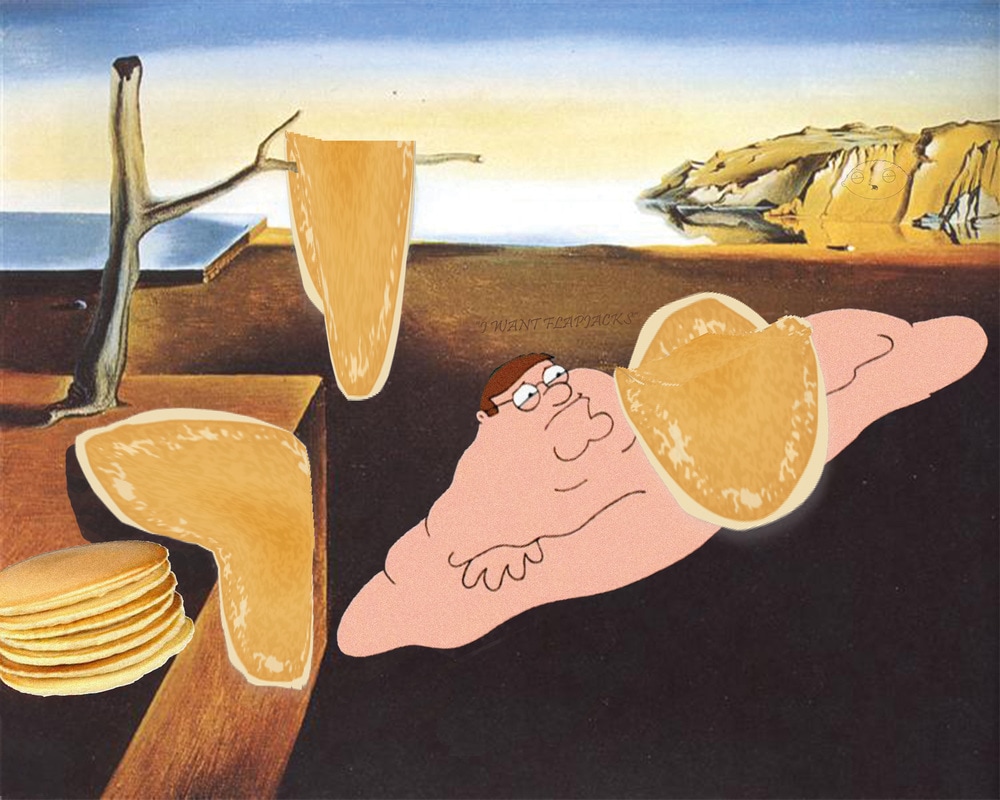
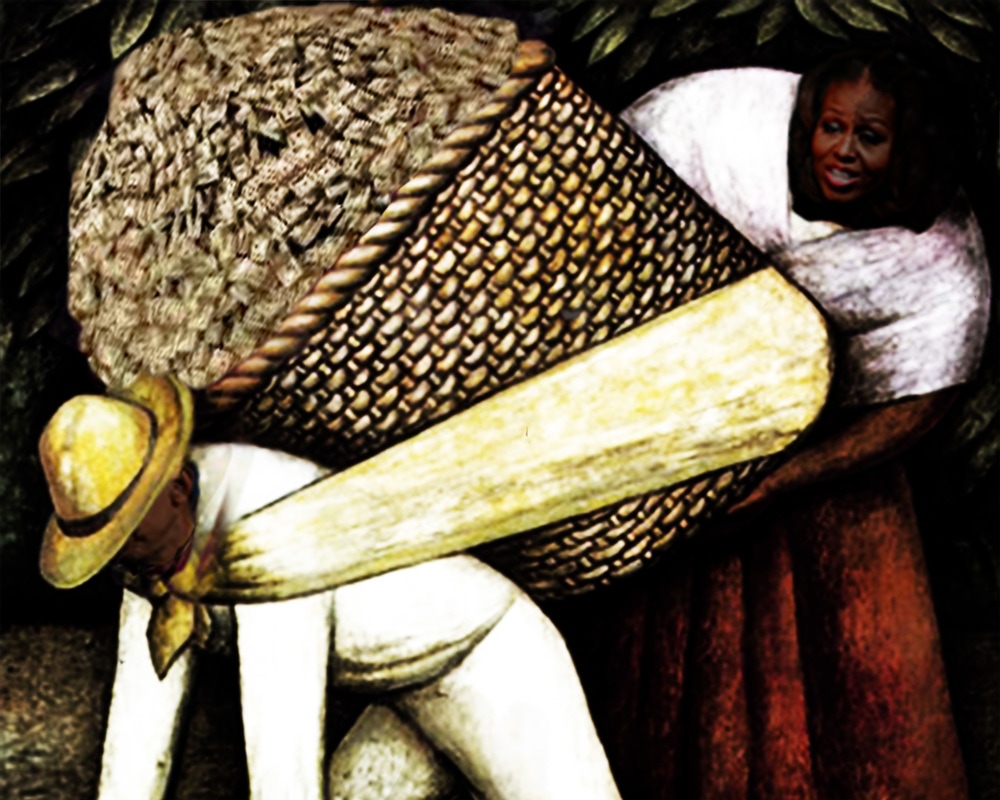
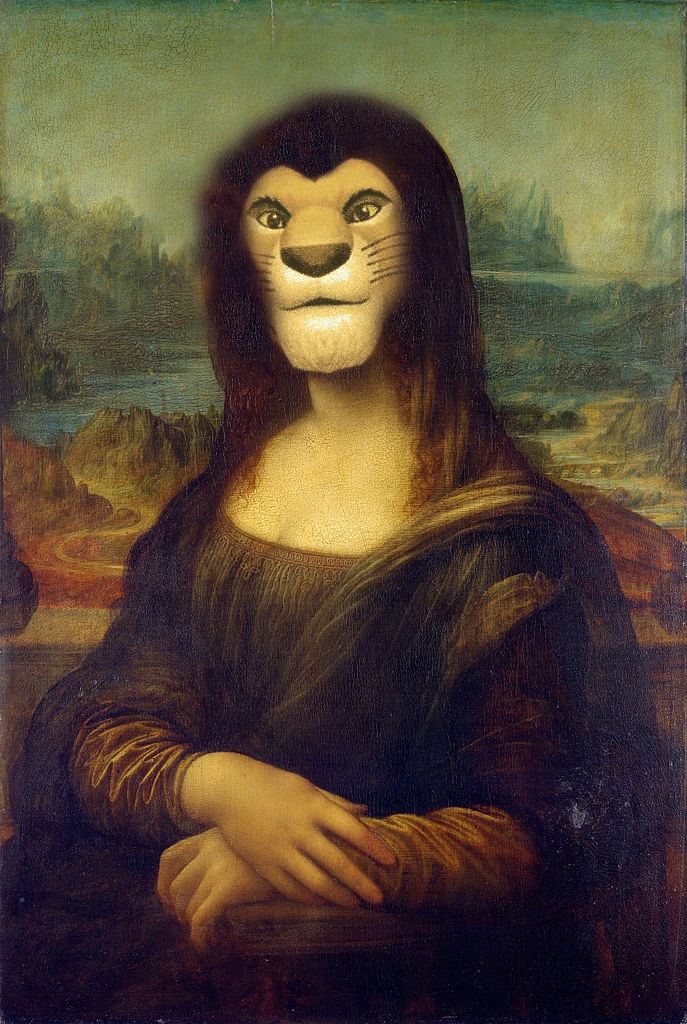
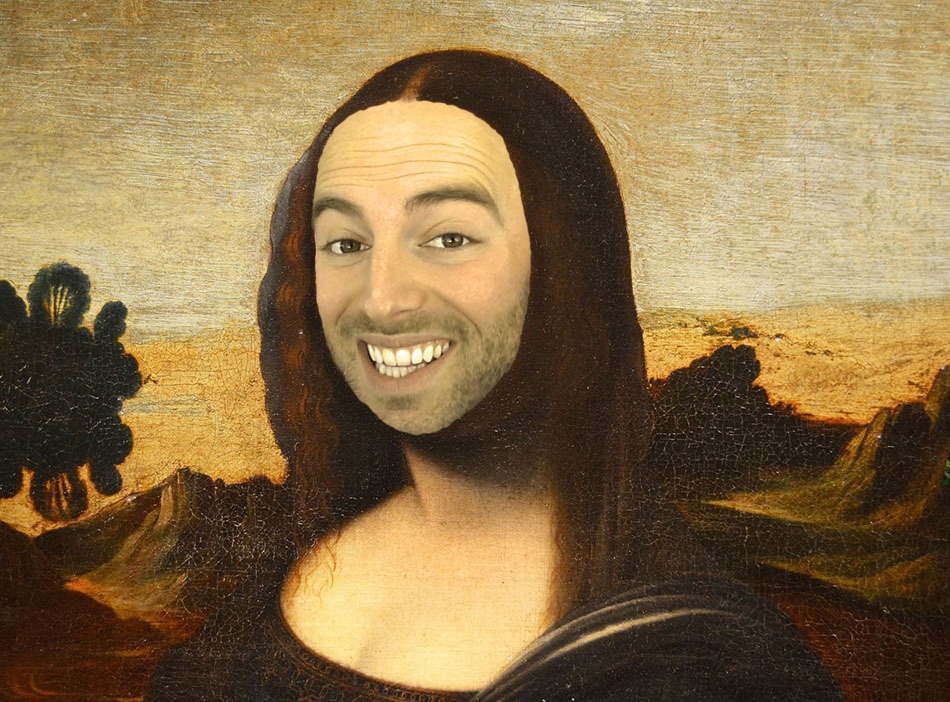
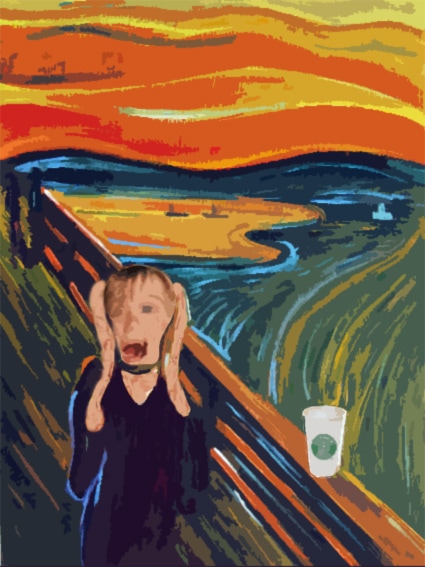
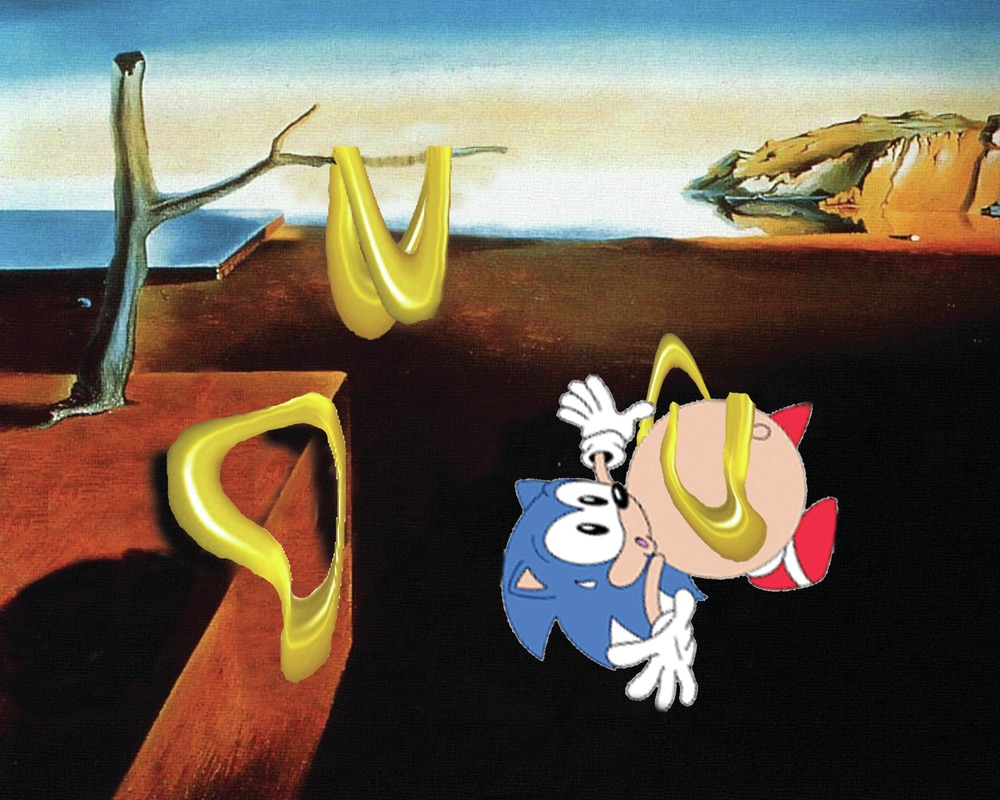
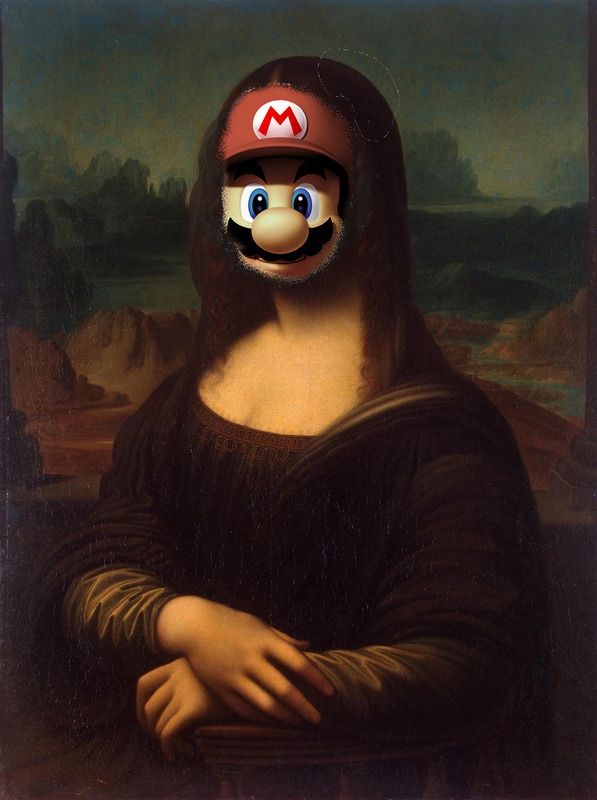
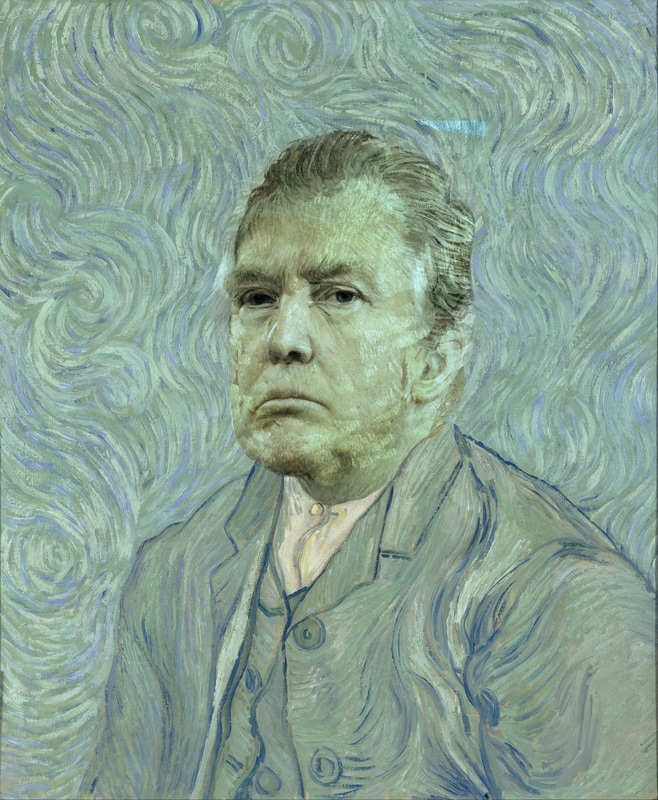
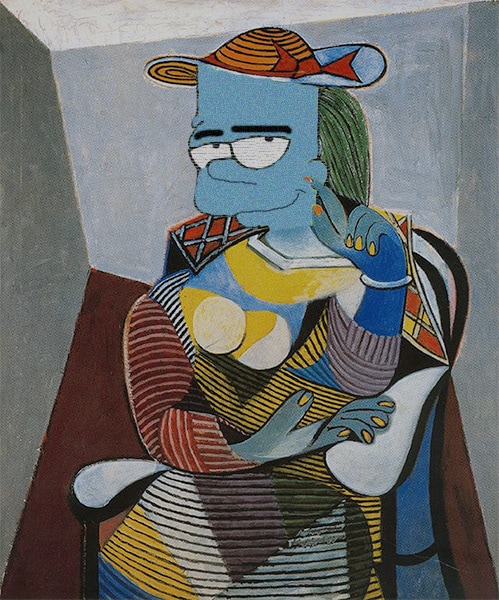
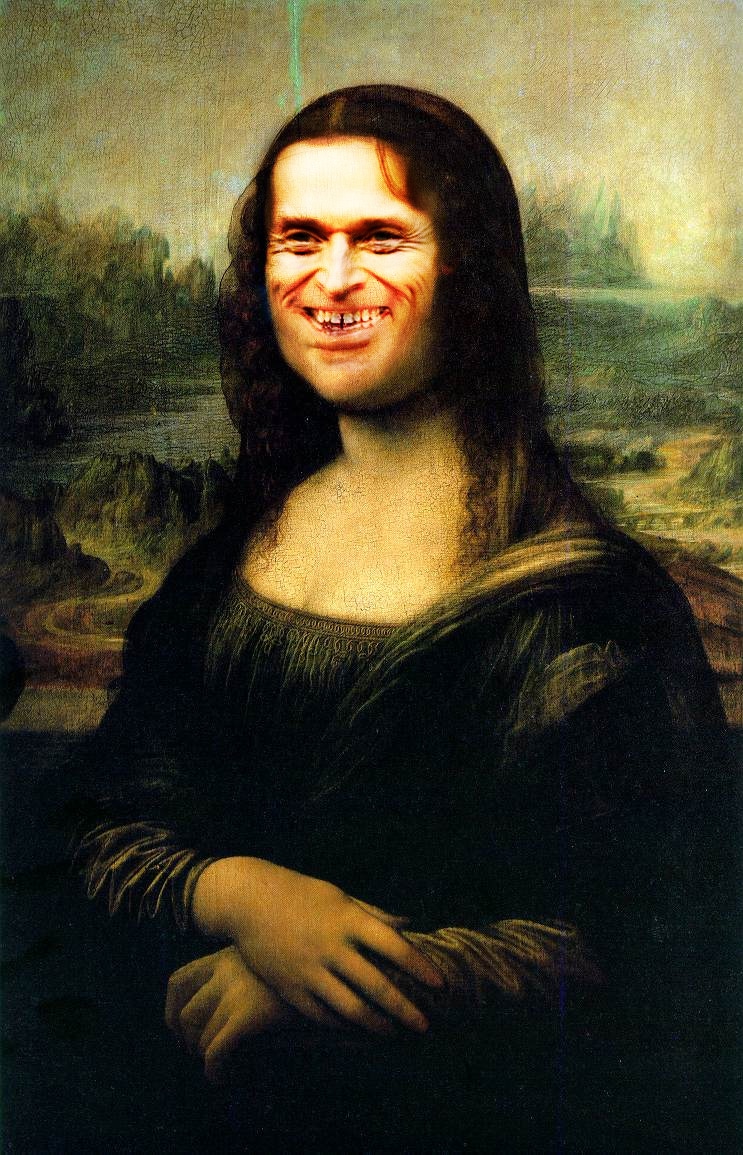
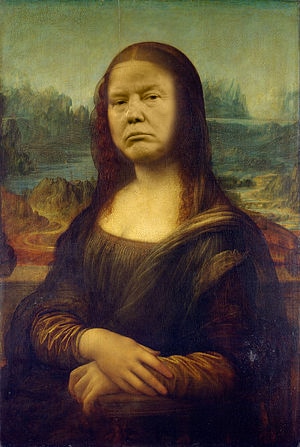
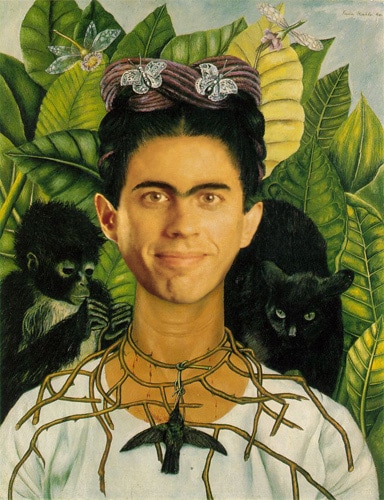
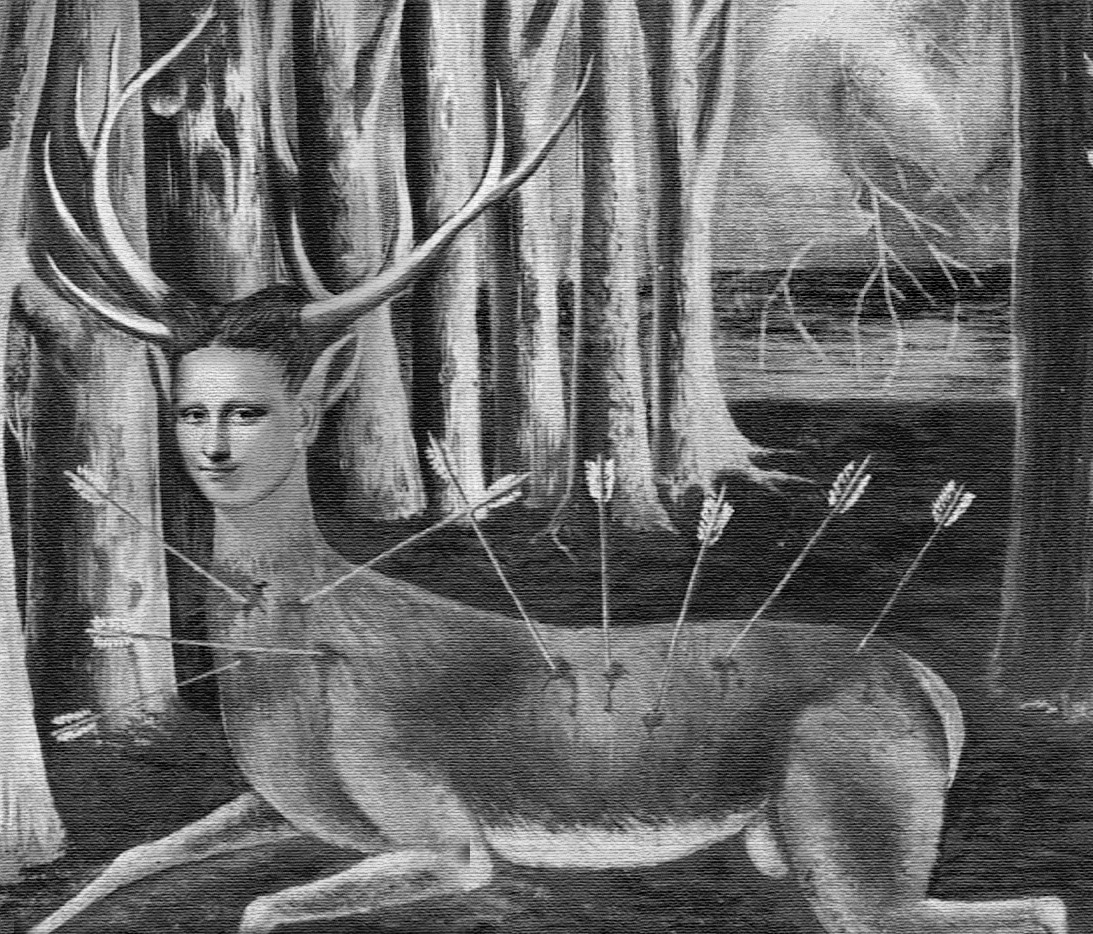
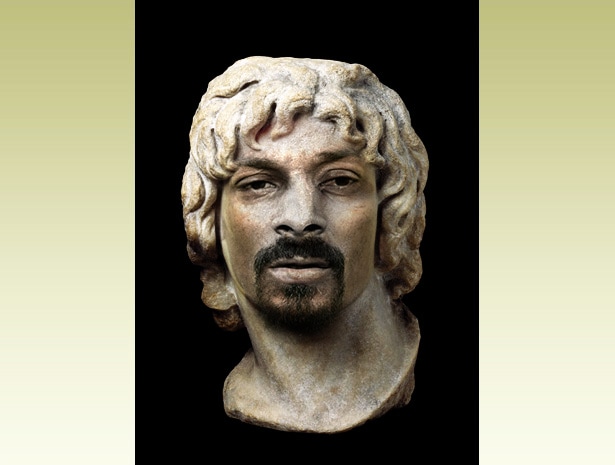
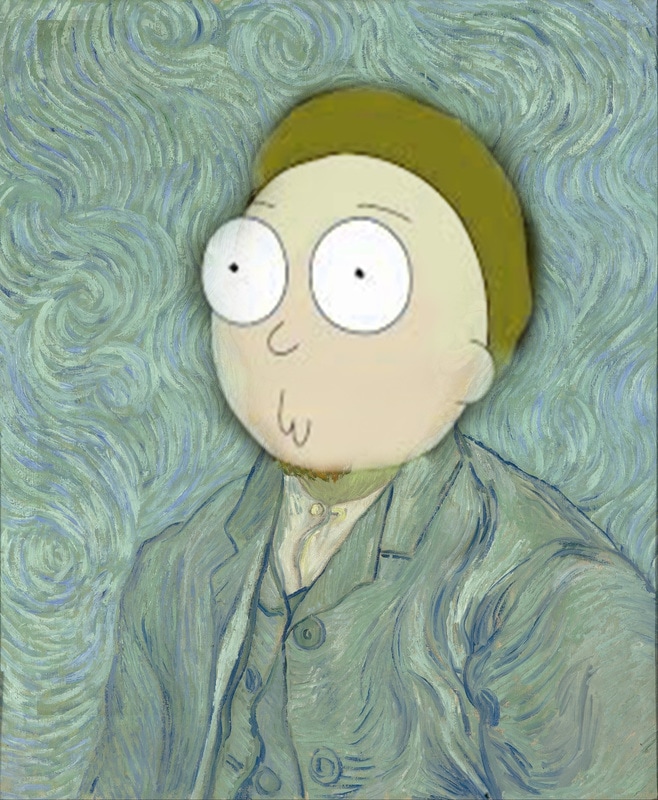
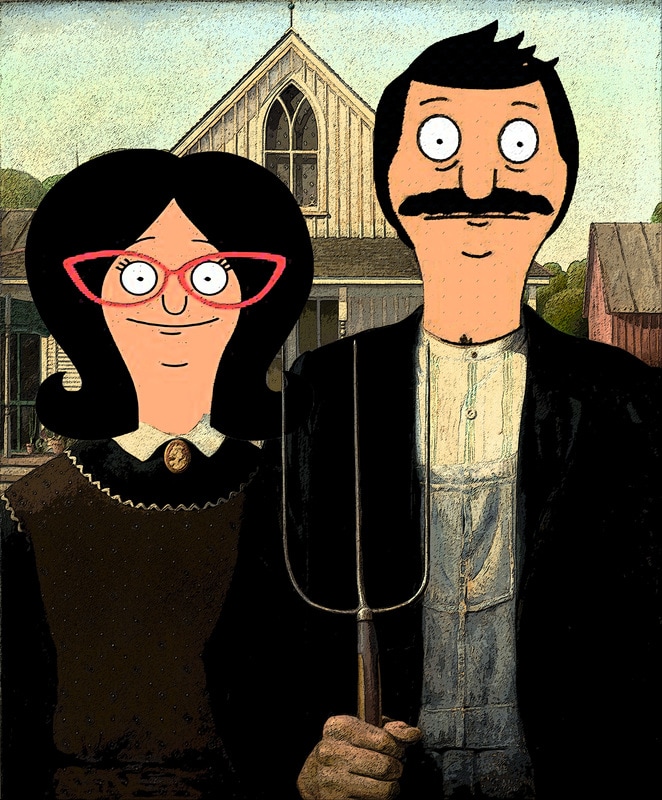
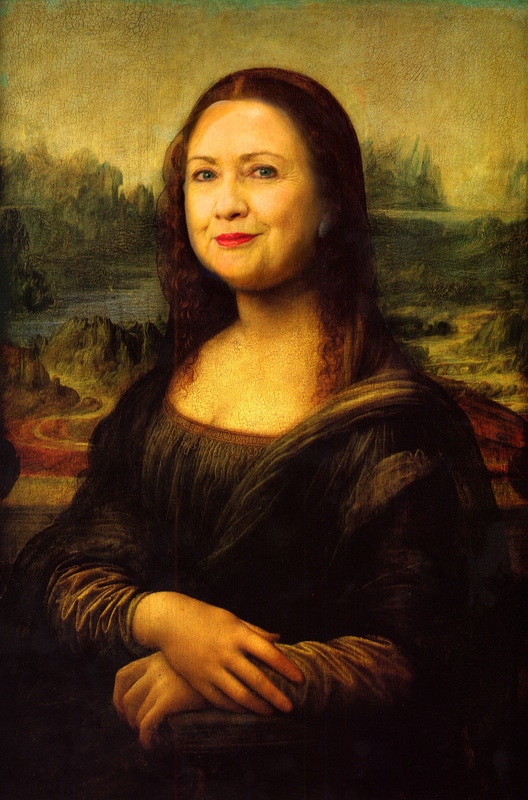
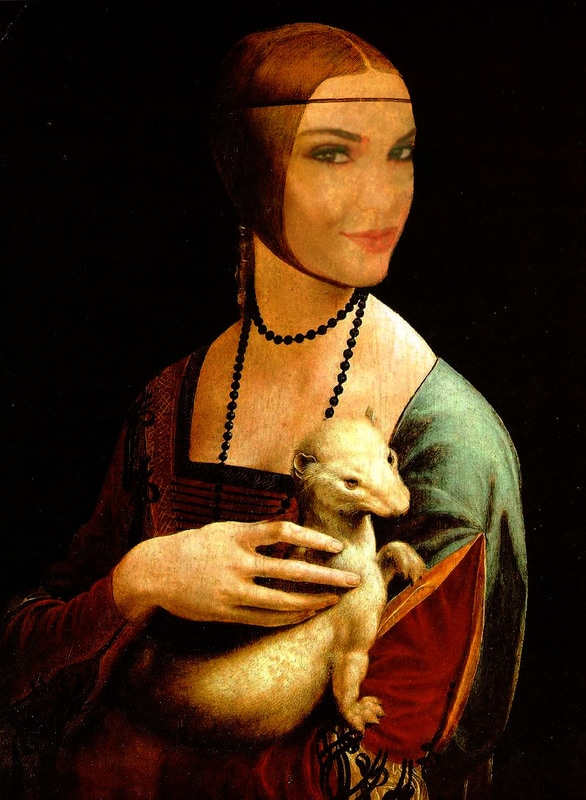
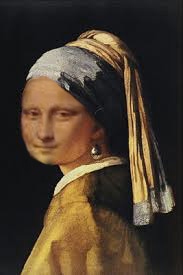
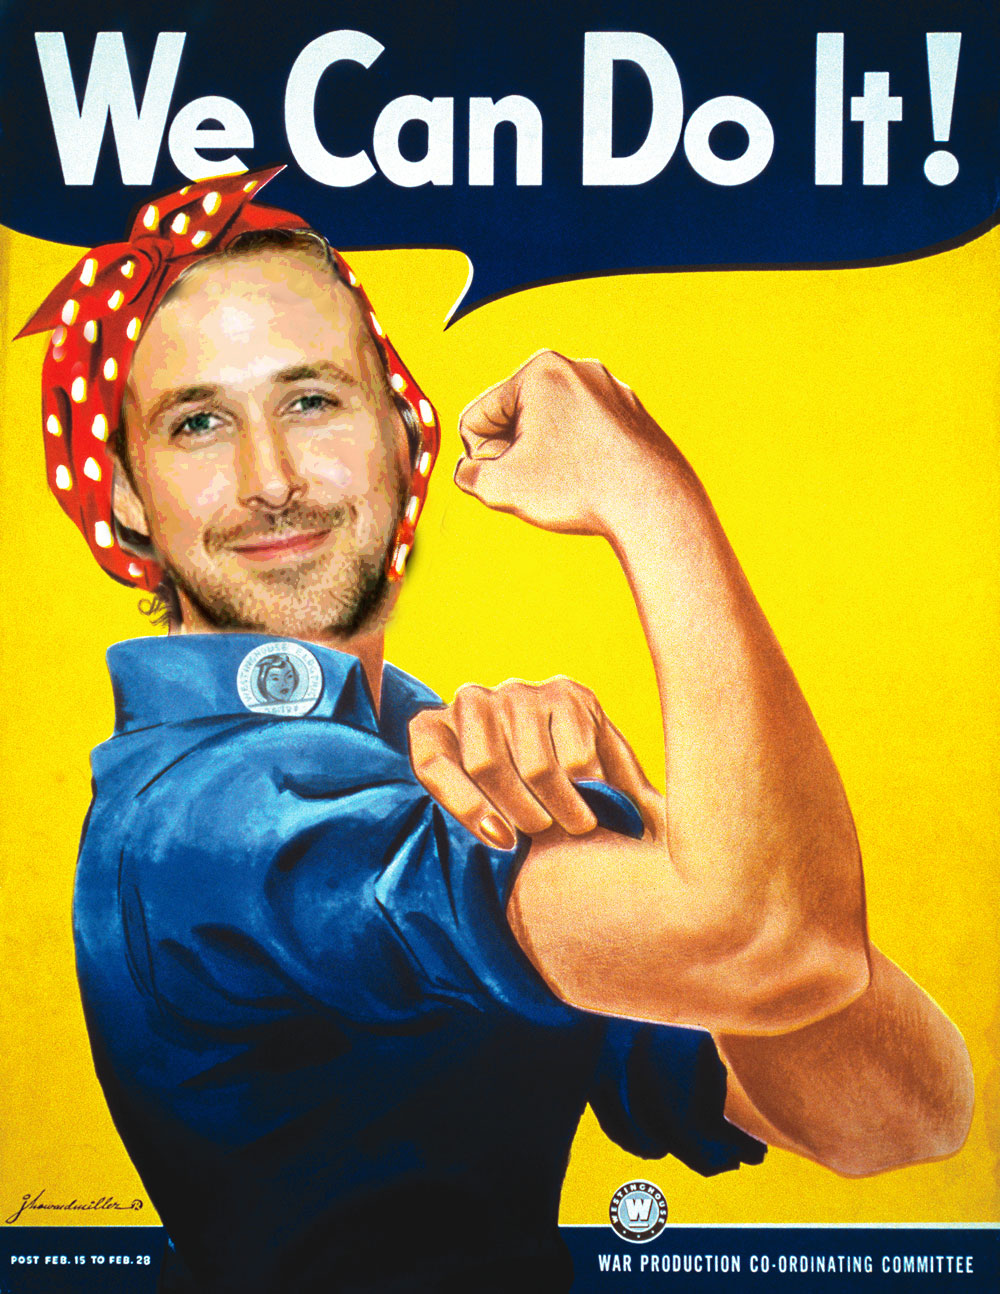
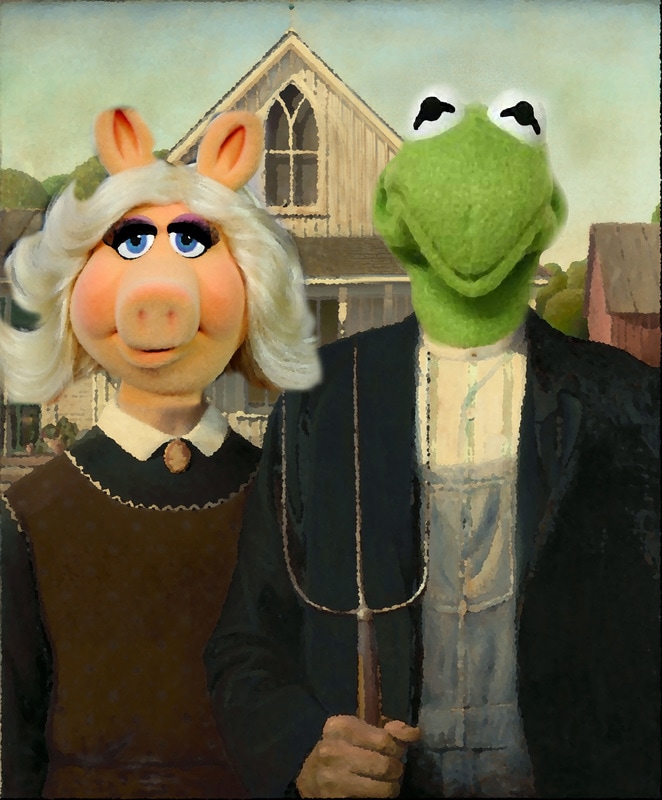
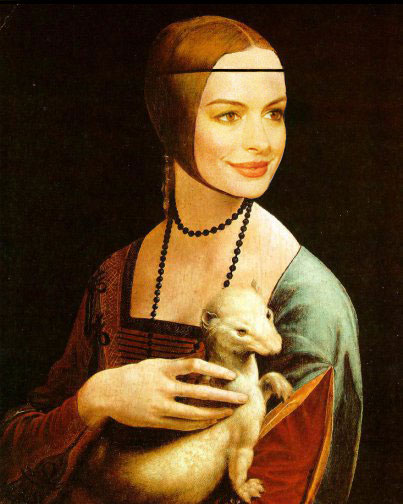
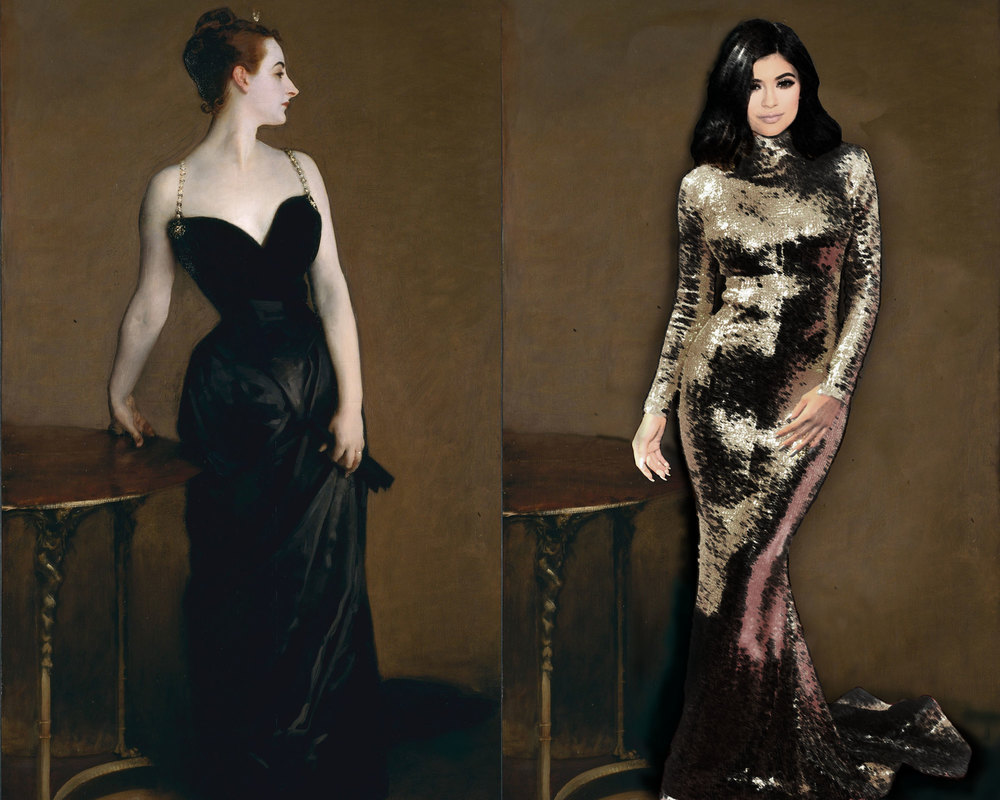
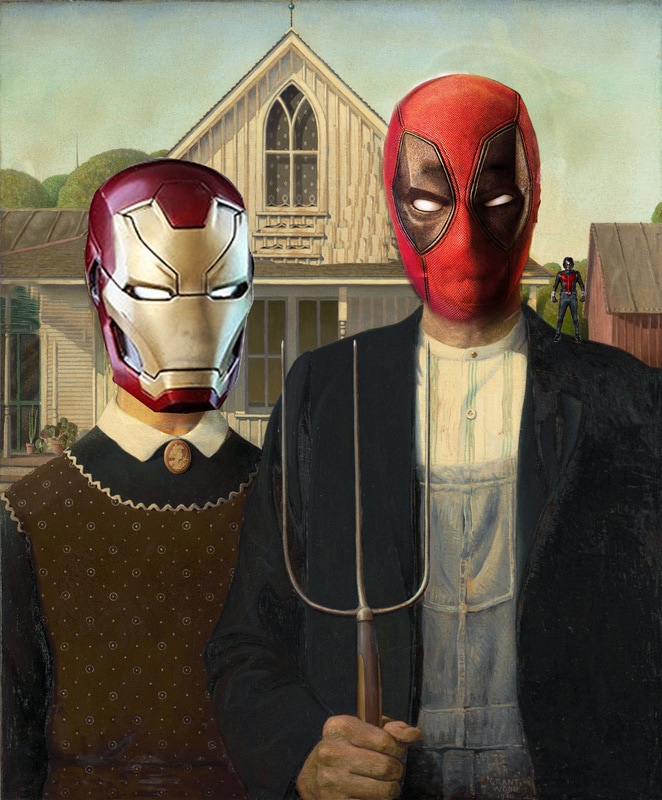
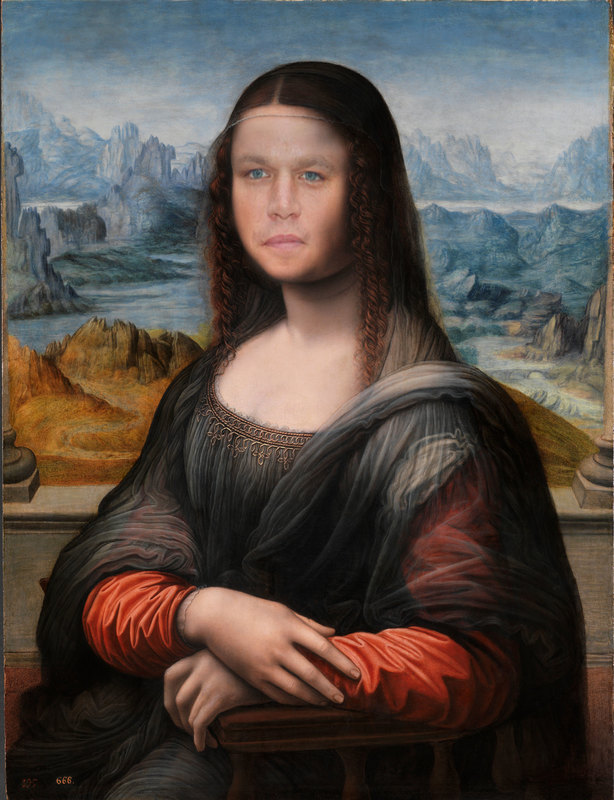
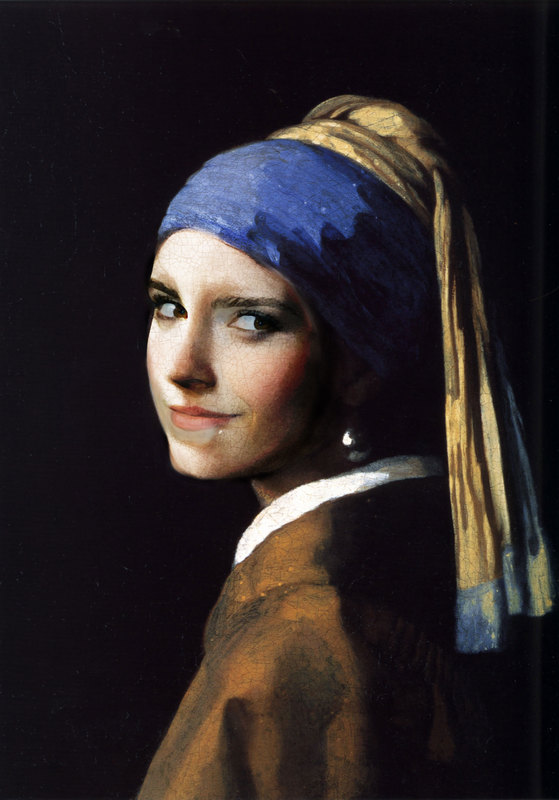
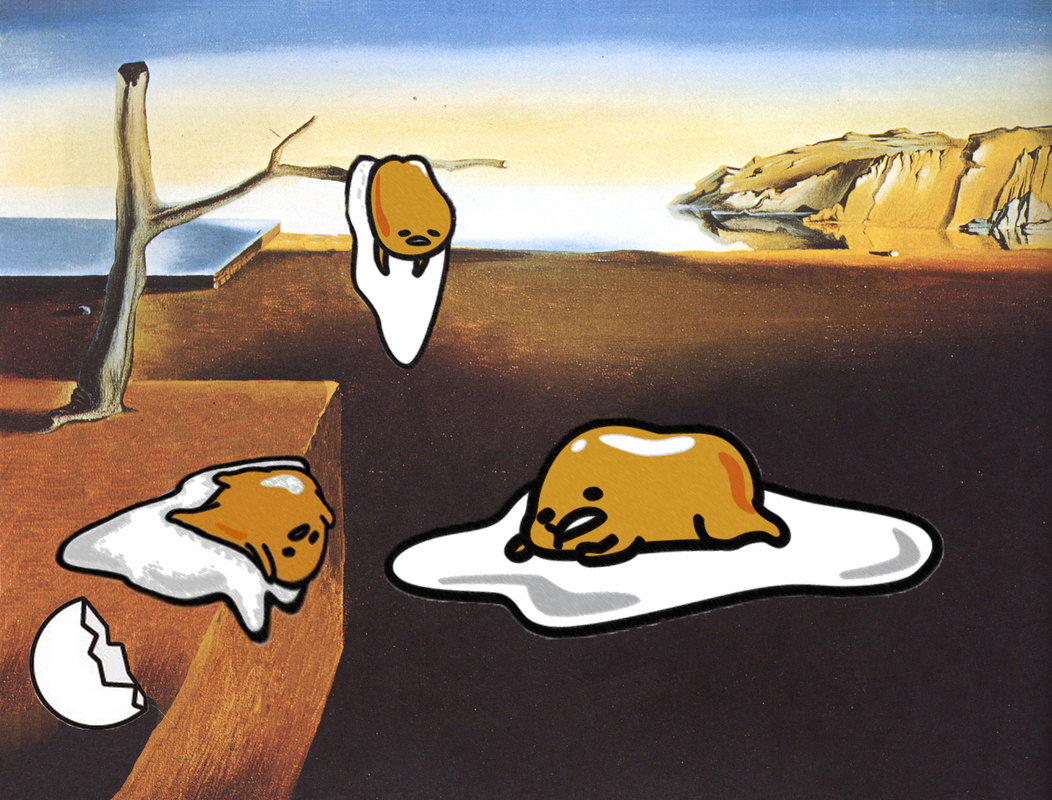
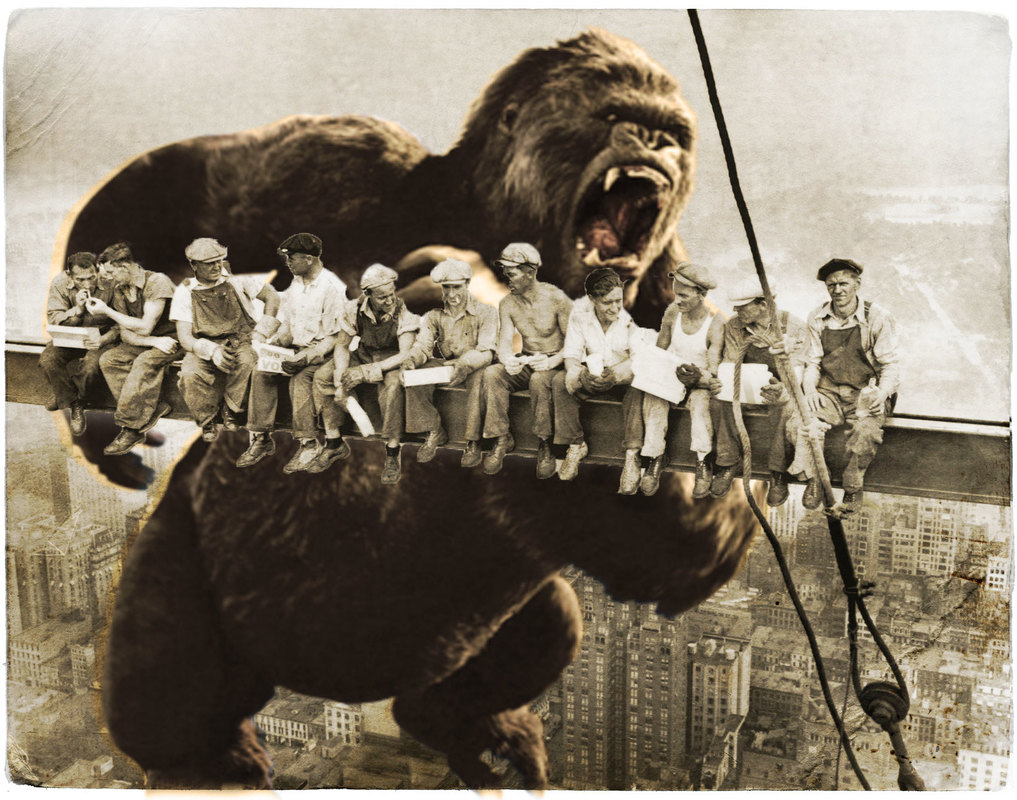
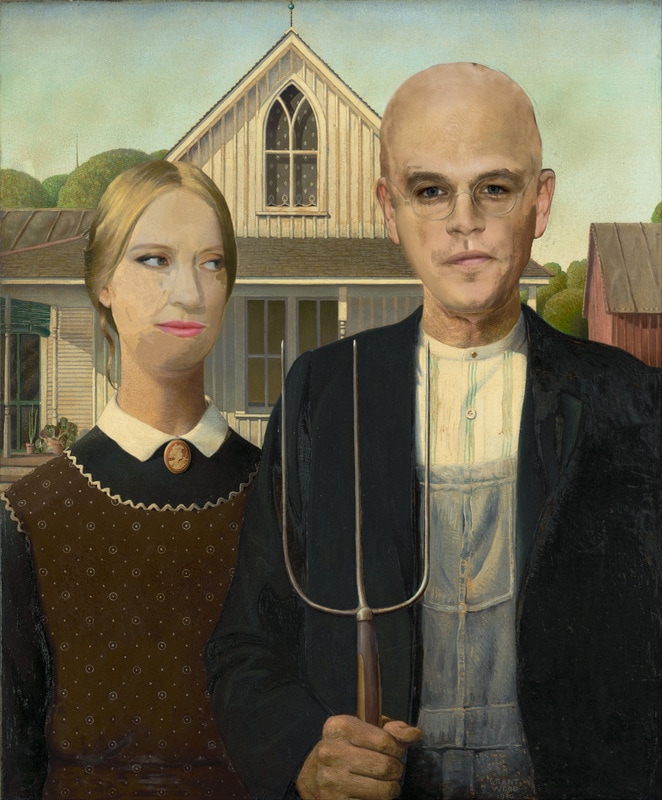
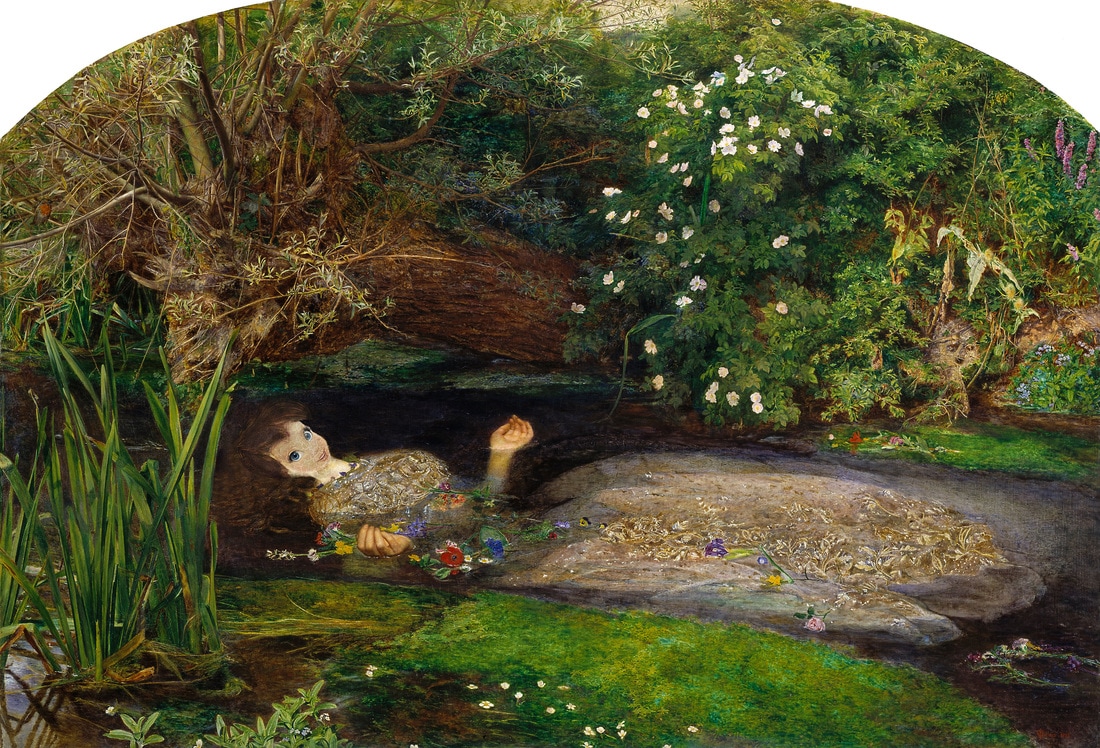
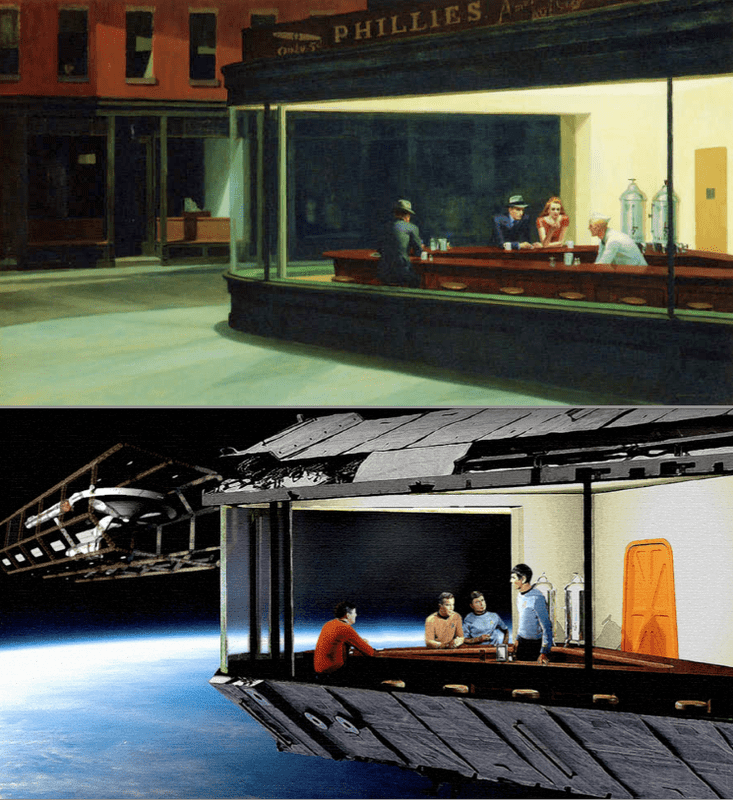
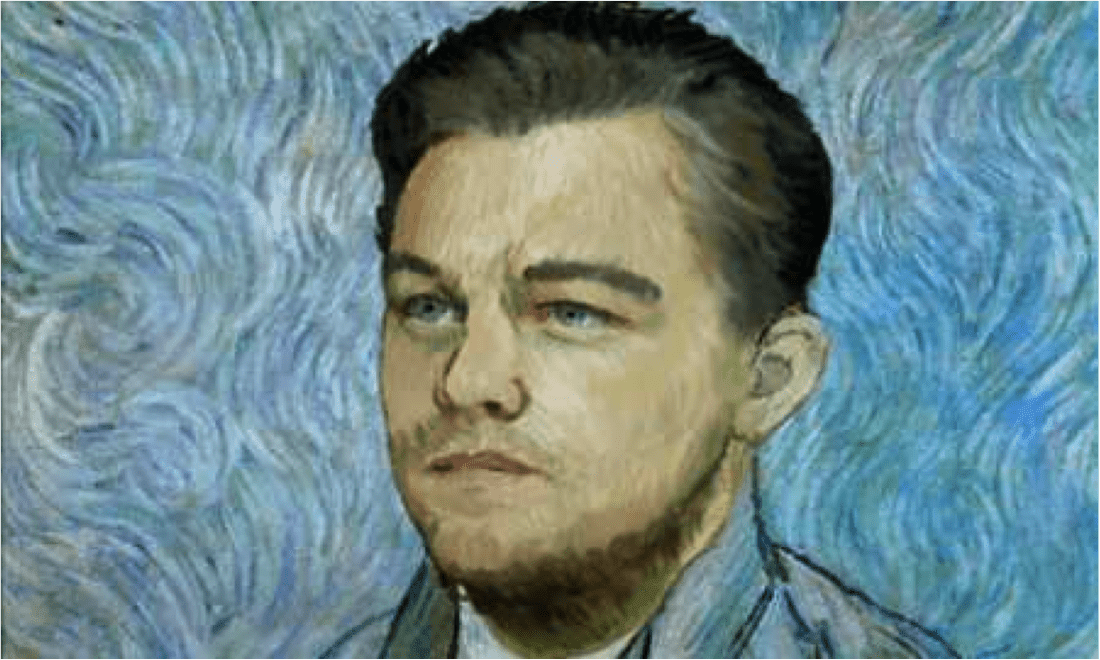
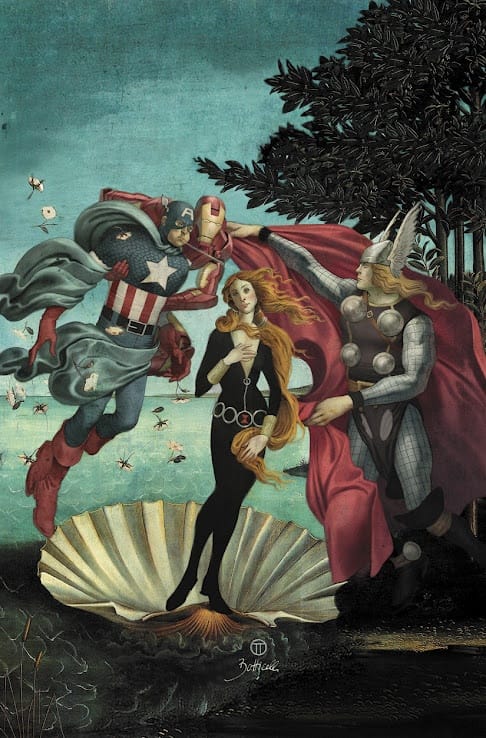
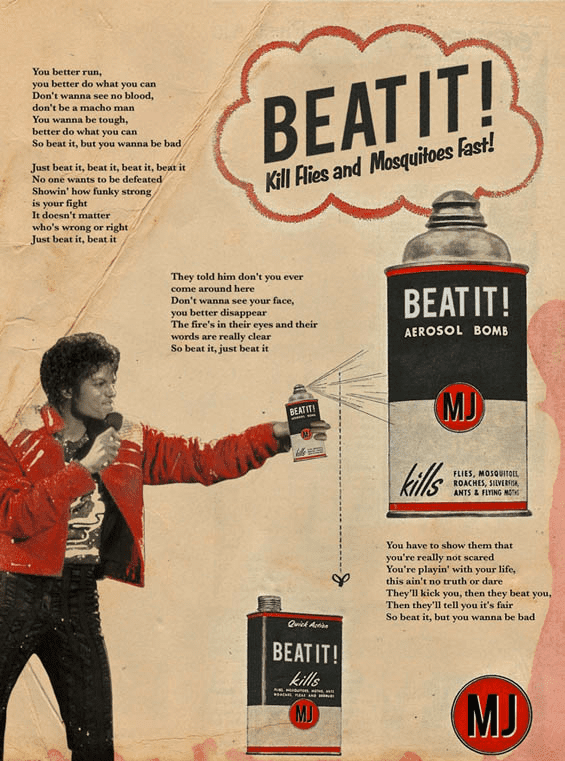
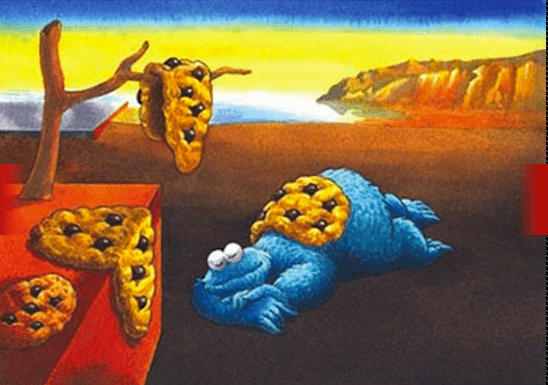
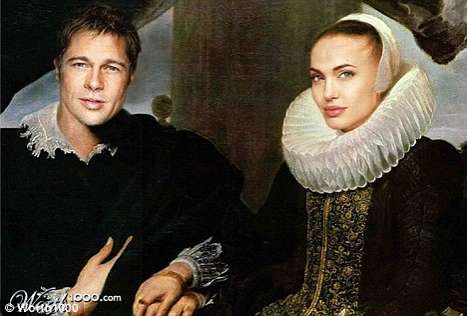
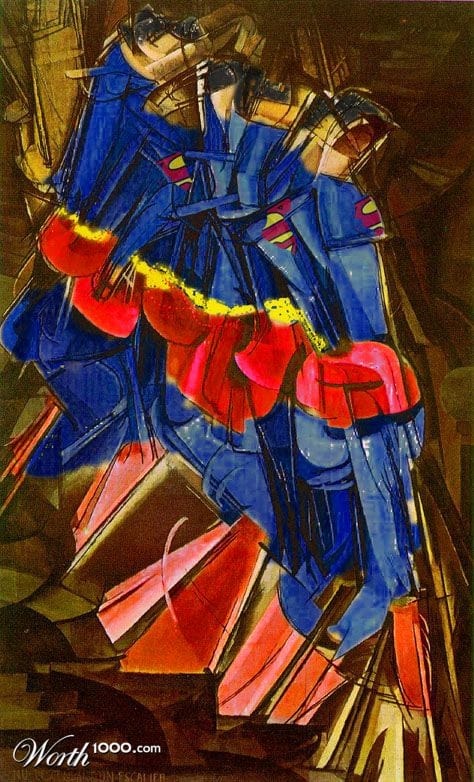
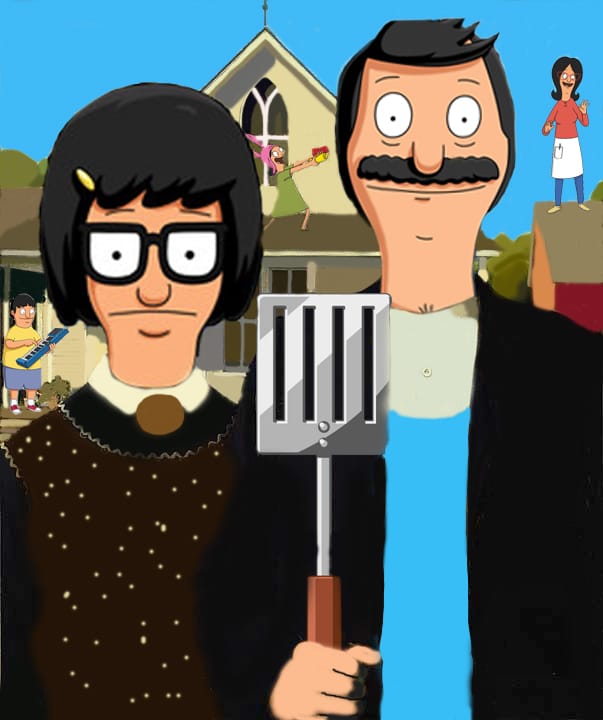
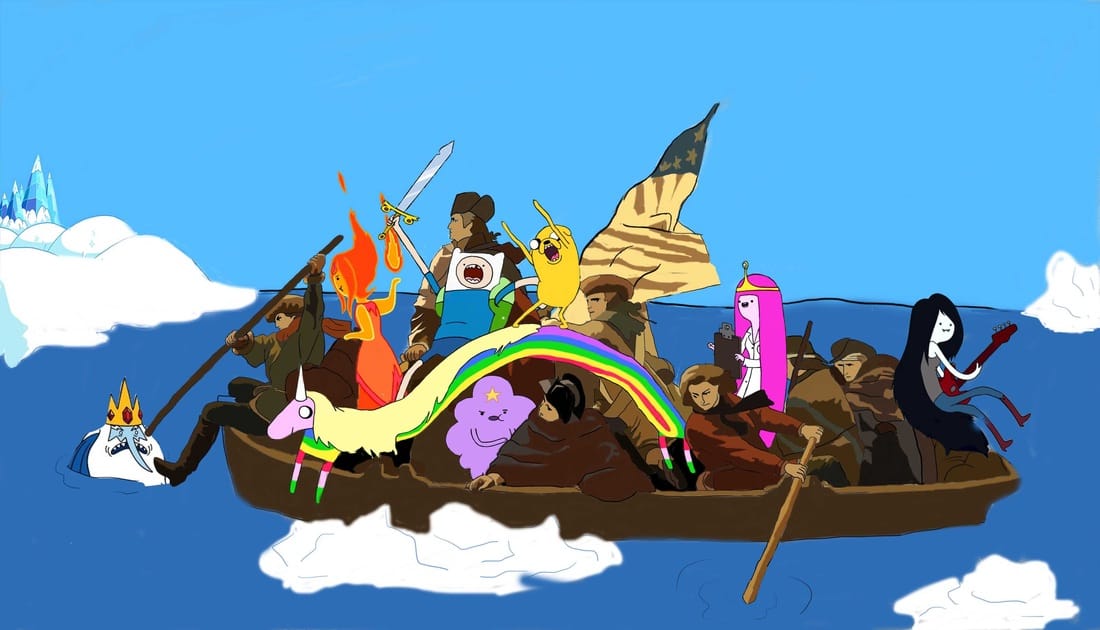
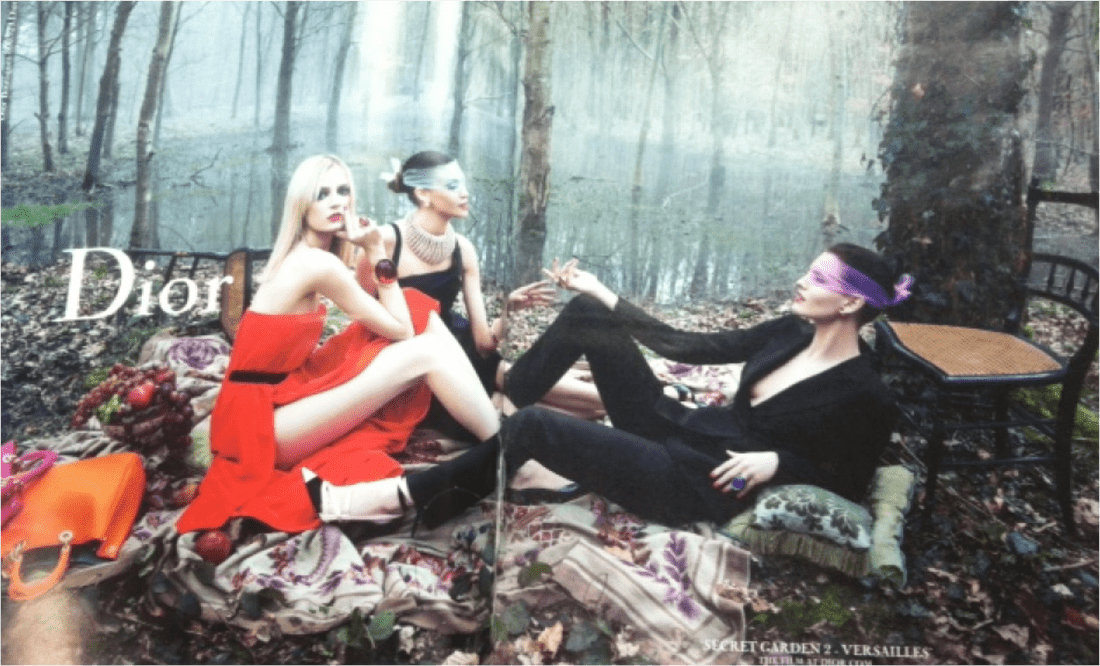
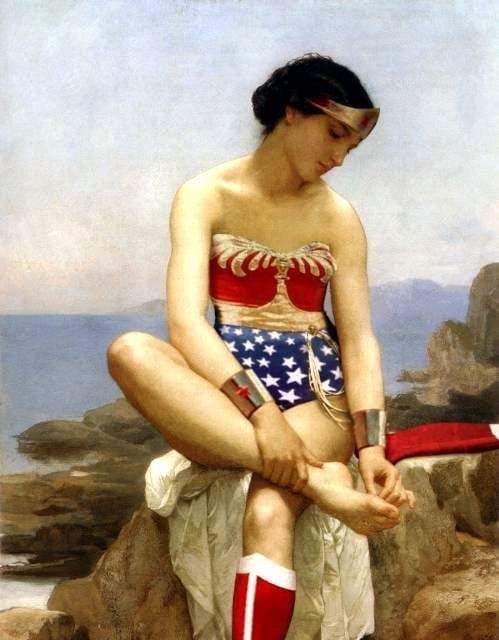
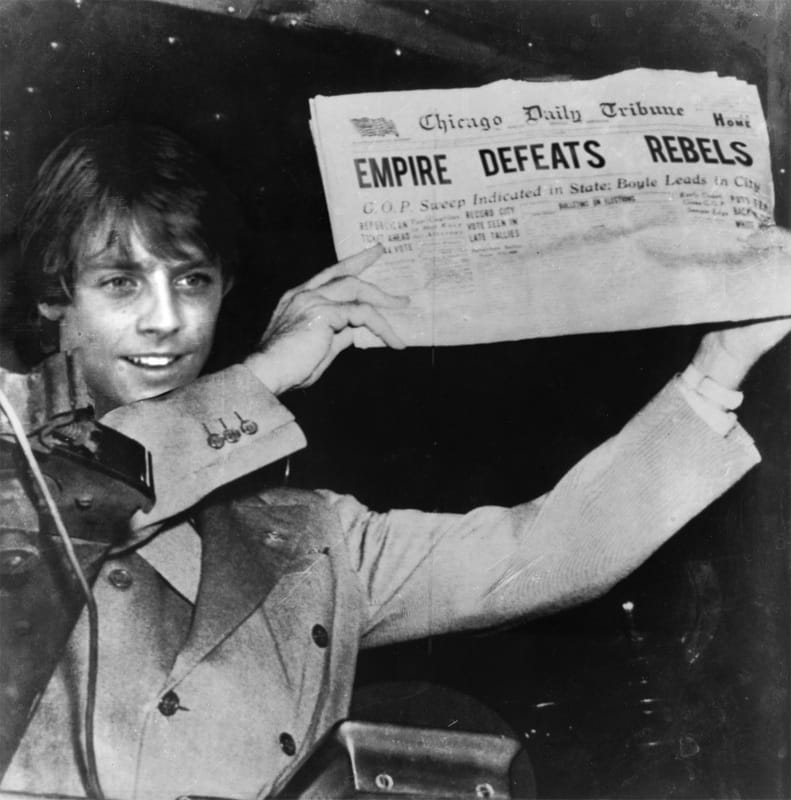
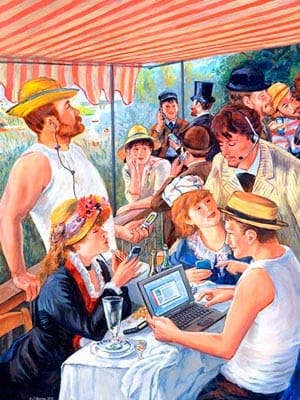
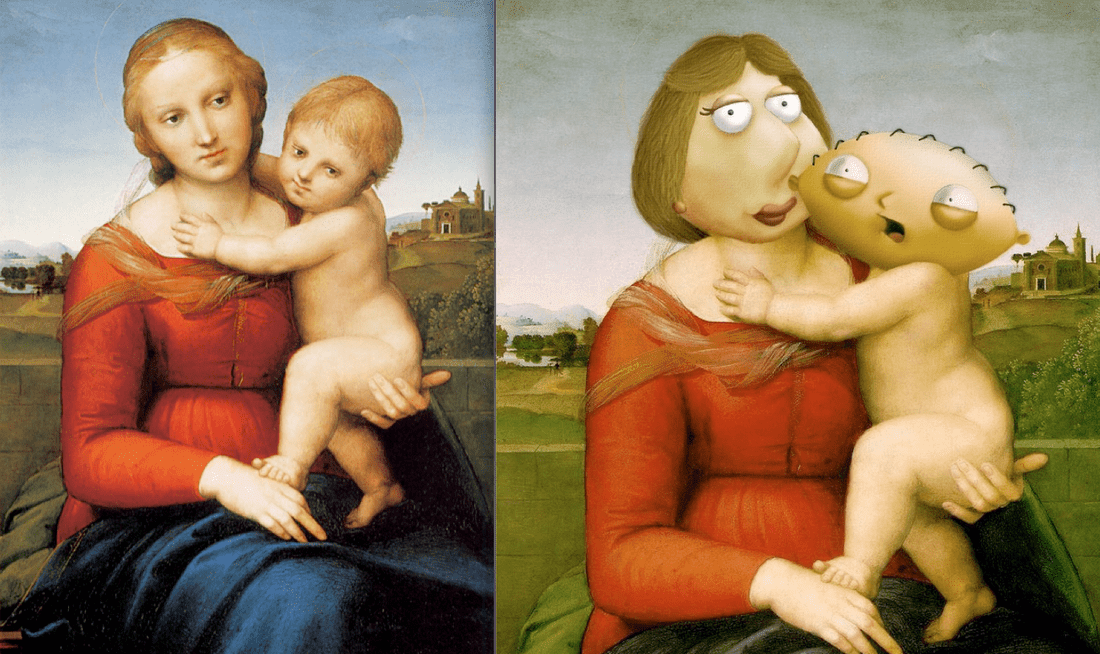
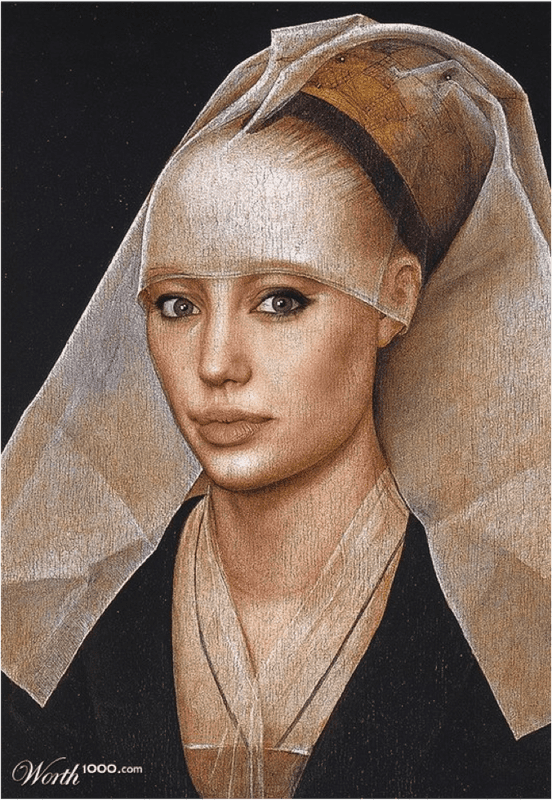
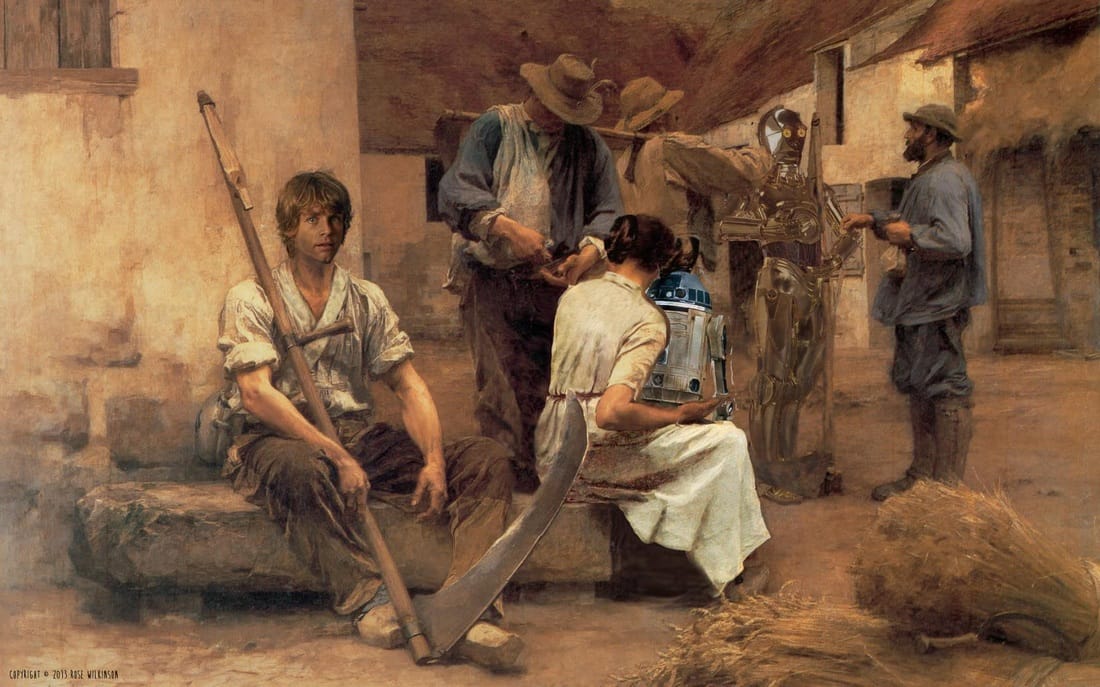
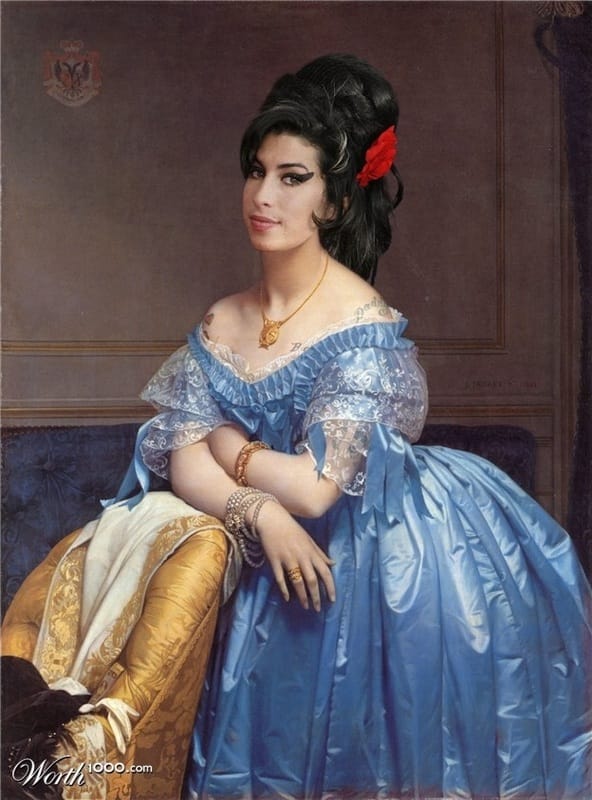
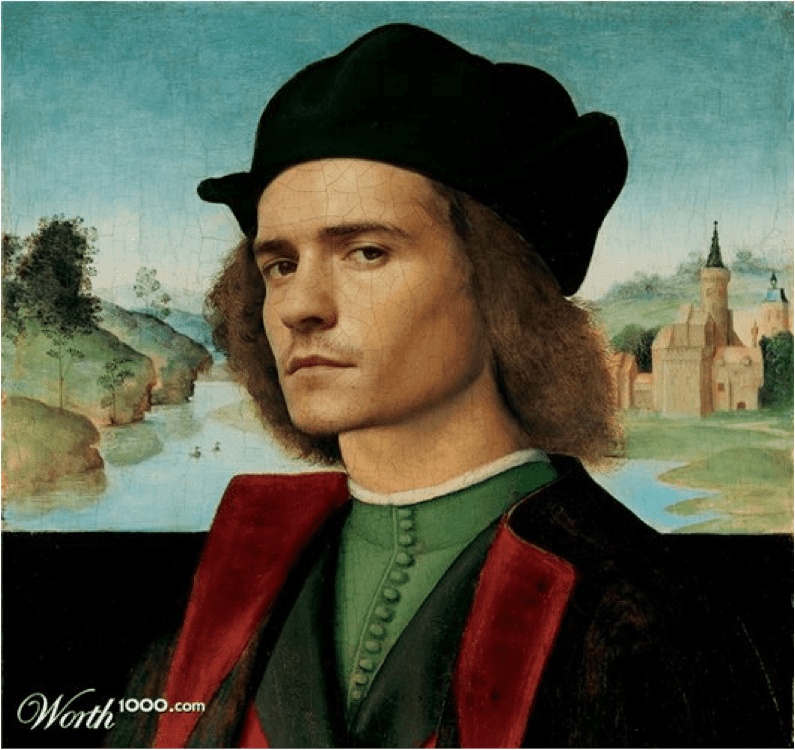
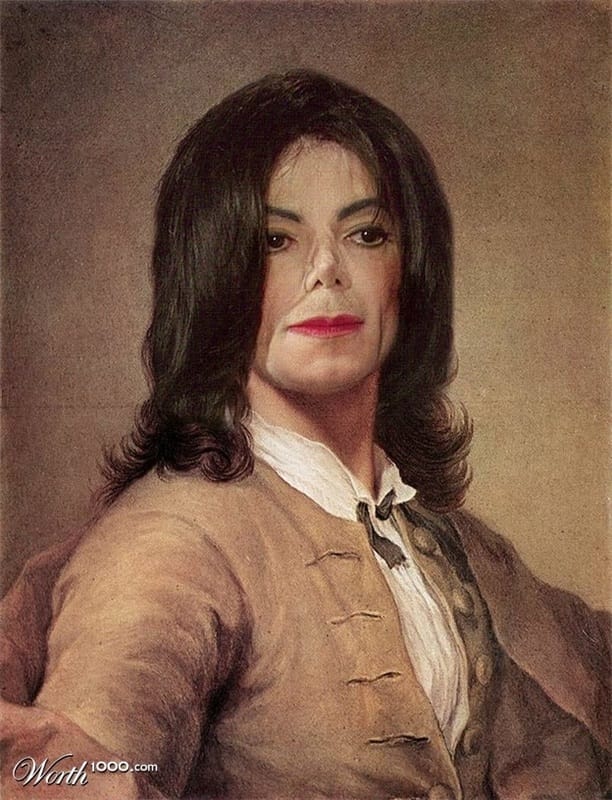
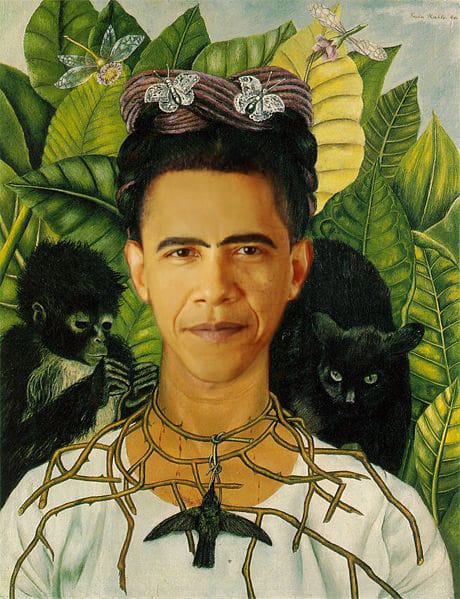
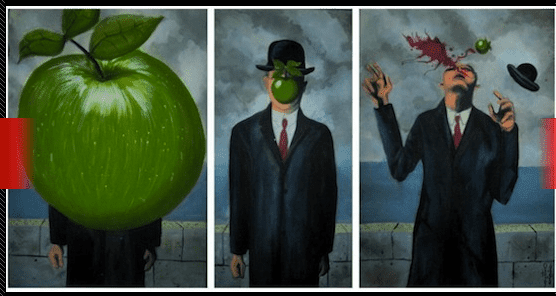
Groups 1 and 7 The Art of the Amarna Period of Ancient Egypt (from 1543 B.C.E through 1292 B.C.E.) Group 2 The Art of Middle to Late Archaic Greece (from 620 B.C.E. through 480 B.C.E.) Group 3 Art of the Early Roman Empire (from 27 B.C.E through 161 C.E.) Group 4 The Insular Art of the British Isles (from 500 C.E. through 1000 C.E.) Group 5 The Art of the Italian High Renaissance (from 1475 C.E. through 1525 C.E.) Group 6 The Art of the Romantic Era in Europe (from 1790 C.E. through 1880 C.E.) Prompts for Group Presentations:Trends and Styles of Art: Describe the trends and styles of art from the traditional culture or period in art history. Role and Purpose of Art: What is the role and purpose of art in the traditional culture or period in art history? Arts and Culture or Period: How does art from the traditional culture or period in art history reflect that traditional culture, or period in art history (how does the art reflect the culture or historical period)? Compare and Contrast Art: Compare and contrast art from the traditional culture or period in art history with your understanding of current trends in art (use the previous prompts to direct your comparison). Specific Art: Focus on a specific piece of art from the traditional culture or period in art history. How has the meaning of that piece of art been affected over time because of changes in interpretation and context (How was the art thought of then versus how is the art thought of now)? Remember: This is an art presentation; be sure to include relevant art. Do not include unrelated information or images in your presentation. January's Second ProjectYou can think of January’s second project as a portfolio piece to present during job interviews with architecture firms. Your drawing should look similar to the drawings below; except that your drawing will be placed into an actual photograph and made to look like they actually belongs in the photo through the use of Photoshop filters, adjustment layers, and layer blending modes. Your architectural concept drawing should include three sides – representing the x, y, and z axes of the three-dimensional Cartesian coordinate system – created separately in an Adobe Illustrator document, put together using Illustrator’s Perspective Grid (we will look at how to do this later), and finally placed into a photograph using Adobe Photoshop. In addition to two walls and a roof, we will determine what other items your building should include in class. The first step will be to create the front, one side, and the roof of your building in Illustrator. To insure that we do this in a way that looks consistent, when comparing pieces to each other, we will be using rulers and grids in Illustrator. When you are finished creating the walls and roof, you should add the determined details (we will discuss these in class). Be sure to group each wall and the roof with their respective details (how to group and ungroup objects) when you have finished creating those details. Here's a tutorial for the adventurous. January's second project is not based on this tutorial, but you can see how to create a three-dimensional looking house in Adobe Illustrator. VocabularyPicture plane: the flat surface or plane in which the artist organizes the picture. Scale (related to proportion): a technique where the artist makes one object larger than another in order to cause the larger object to appear closer to us than the smaller object. Overlapping: a technique where the artist creates the illusion of depth by placing one object in front of another. High-low placement: a technique where the artist places an object lower in the picture plane to make it appear closer to us than another object that is placed higher. Arial perspective: a technique where the artist reduces the detail, and color intensity, as well as shifts the hue of an object toward the blueish end of the visible light spectrum in order to give the illusion of distance. Illusion of Depth: Scale, Overlapping, and High-Low PlacementQuizJanuary's First ProjectDue Today 8" X 10" or 10" X 8" Dimensions 300 dpi (or ppi) Resolution CMYK Color Mode You must choose a piece of culturally significant art (painting, sculpture, photograph, etcetera) as the basis for your project, and keep a copy of the unmanipulated, original artwork as an unseen layer. The goal of this assignment is for you to place a celebrity or public figure into the artwork you have chosen. In order to do this successfully (in order to get a good grade on this assignment), your final art must match the style (color, brush pattern, film grain, etcetera) of the original art; or your final art must match the style of the celebrity/public figure you have chosen. Exercises for January's First ProjectExercise 1:
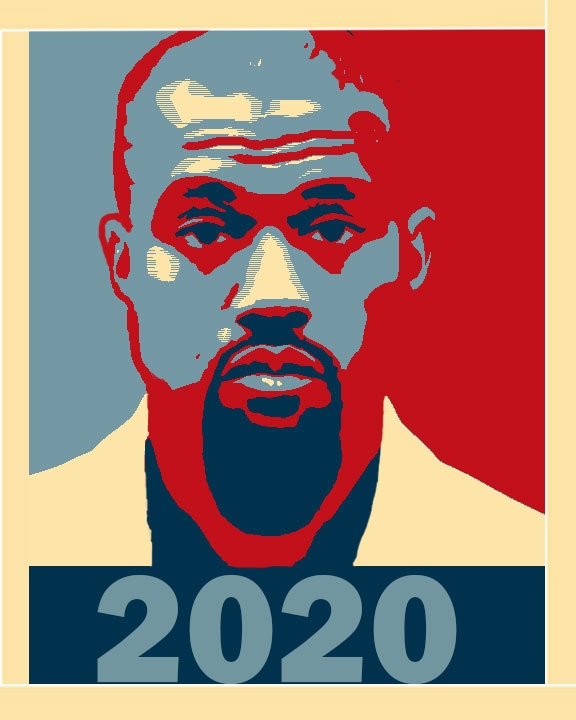
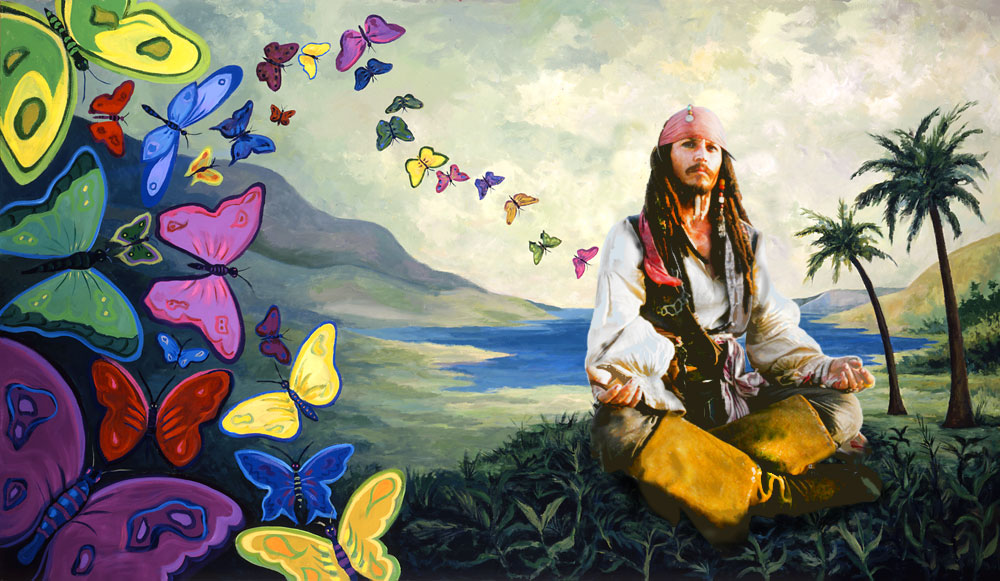
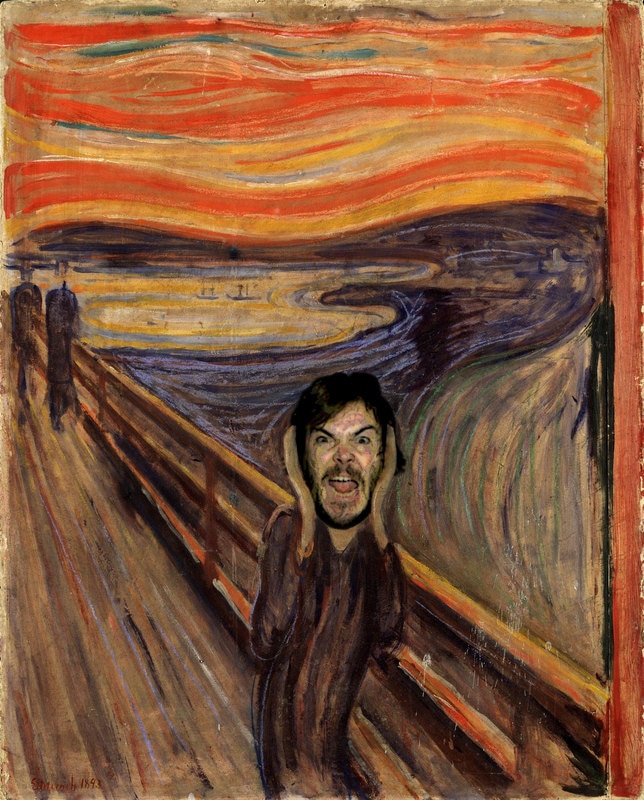
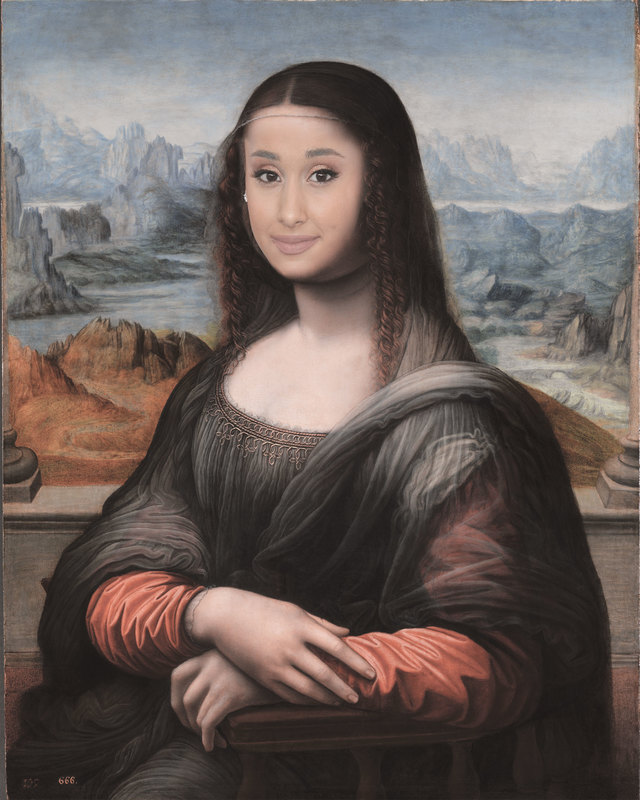
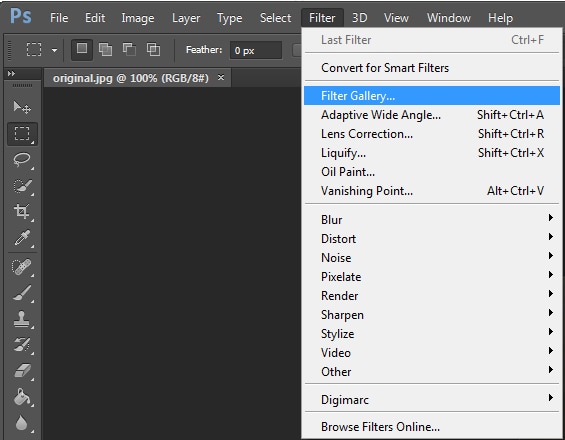
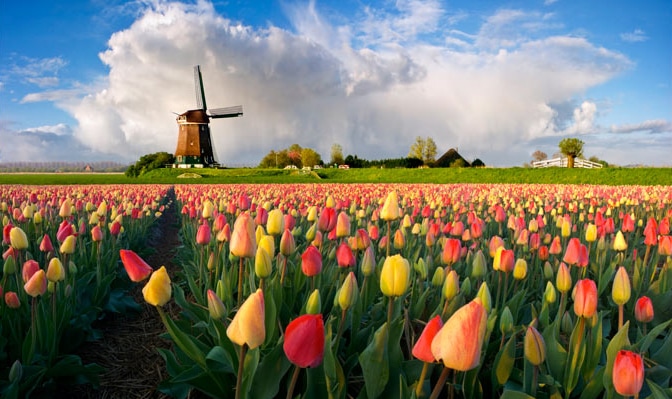
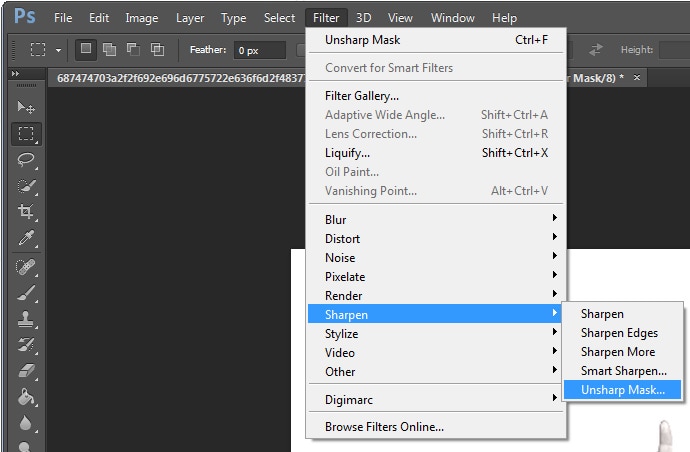
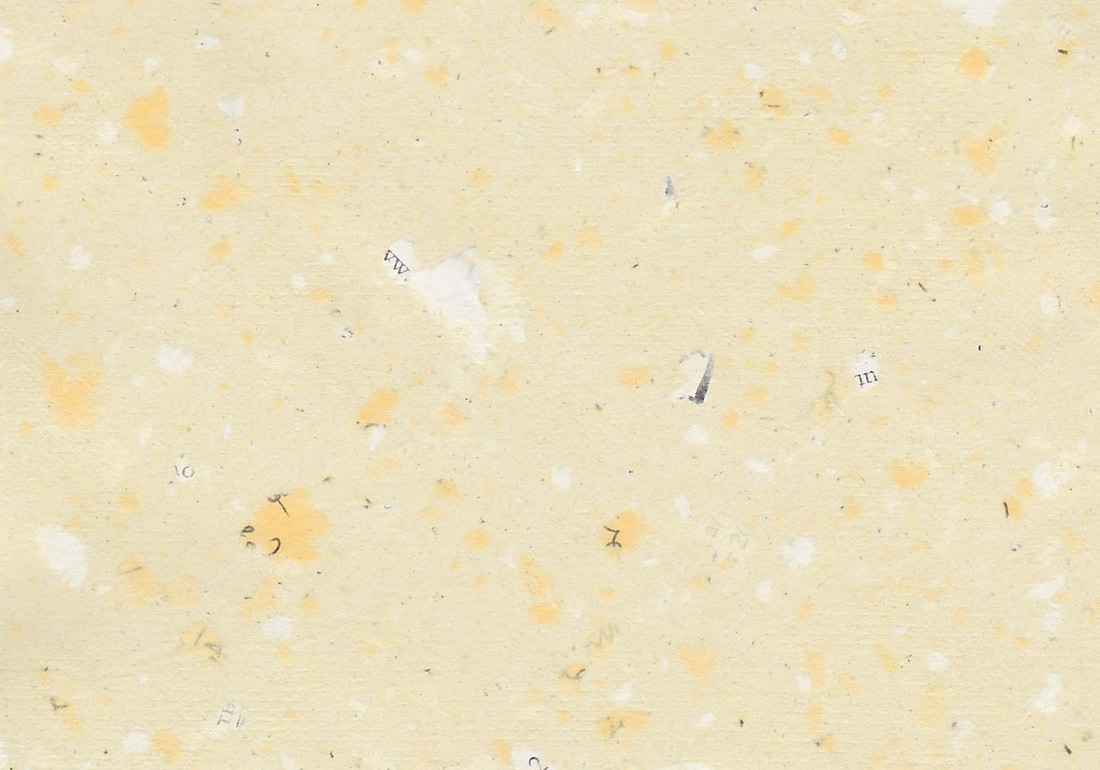
Use the provided image to complete the following tutorial: The Luminosity Blend Mode In Photoshop Image for Exercise 1 Exercise 2: Use the provided images to complete the following tutorial: How to Use Textures to Enhance Your Photographs First Image for Exercise 2 Second Image for Exercise 2 Third Image for Exercise 2 Exercise 3: Use the provided image to complete the following tutorial: Comparing The Levels And Curves Adjustments In Photoshop Image for Exercise 3 Exercise 4: Use the provided image to complete the following tutorial: How to Adjust Specific Colors with Hue & Saturation Adjustment Layers in Photoshop Image for Exercise 4 Exercise 5: Use the provided image to complete the following tutorial: Photoshop CS6 Blur Gallery – Field Blur Image for Exercise 5 Video: Selectively Blurring Images in Photoshop CS6 Exercise 6: Use the provided image to complete the following tutorial: Photoshop Watercolor Painting Effect Image for Exercise 6 January's First ProjectDue Friday, January 13th, 2016ish?
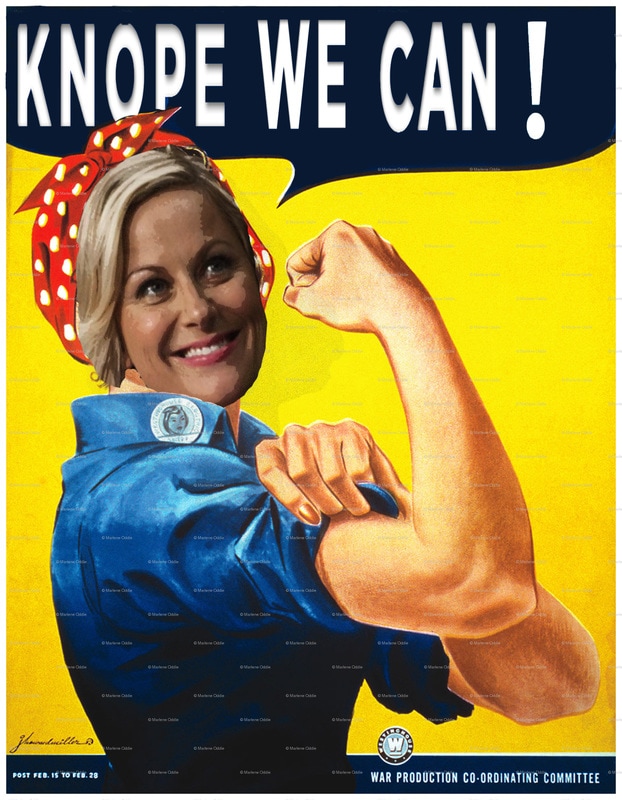
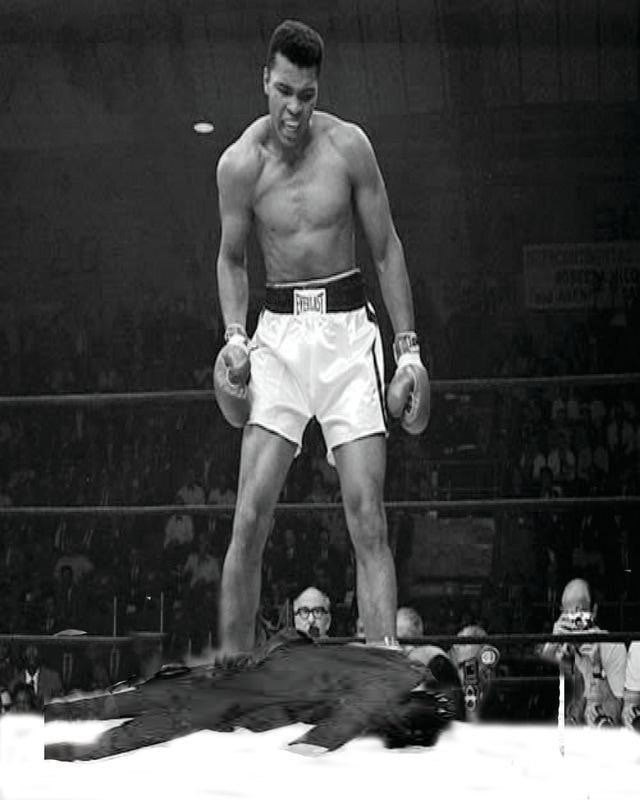
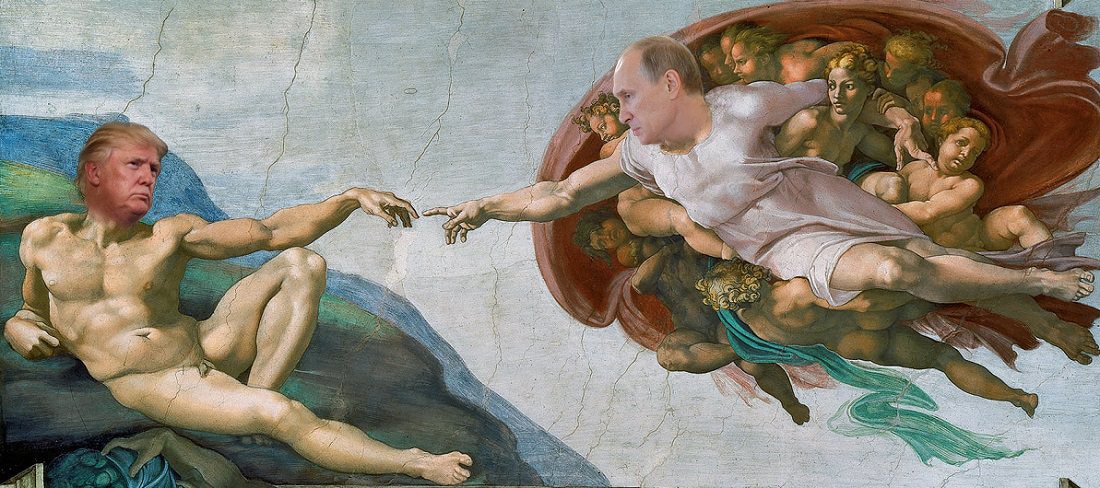
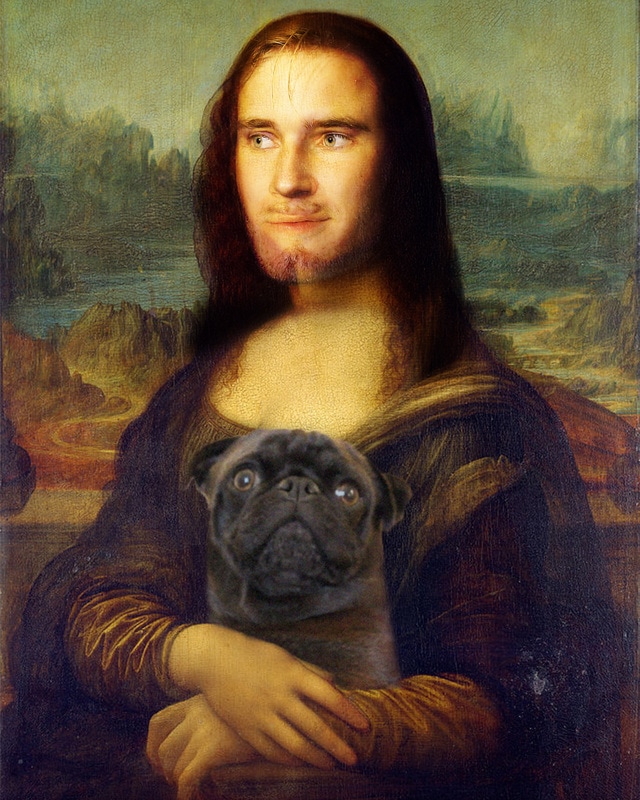
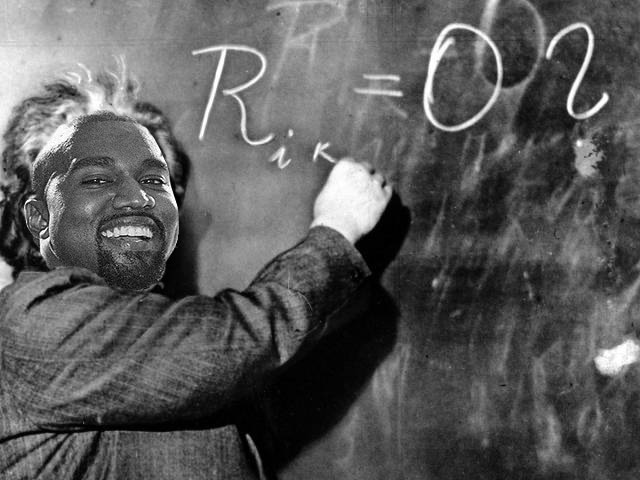
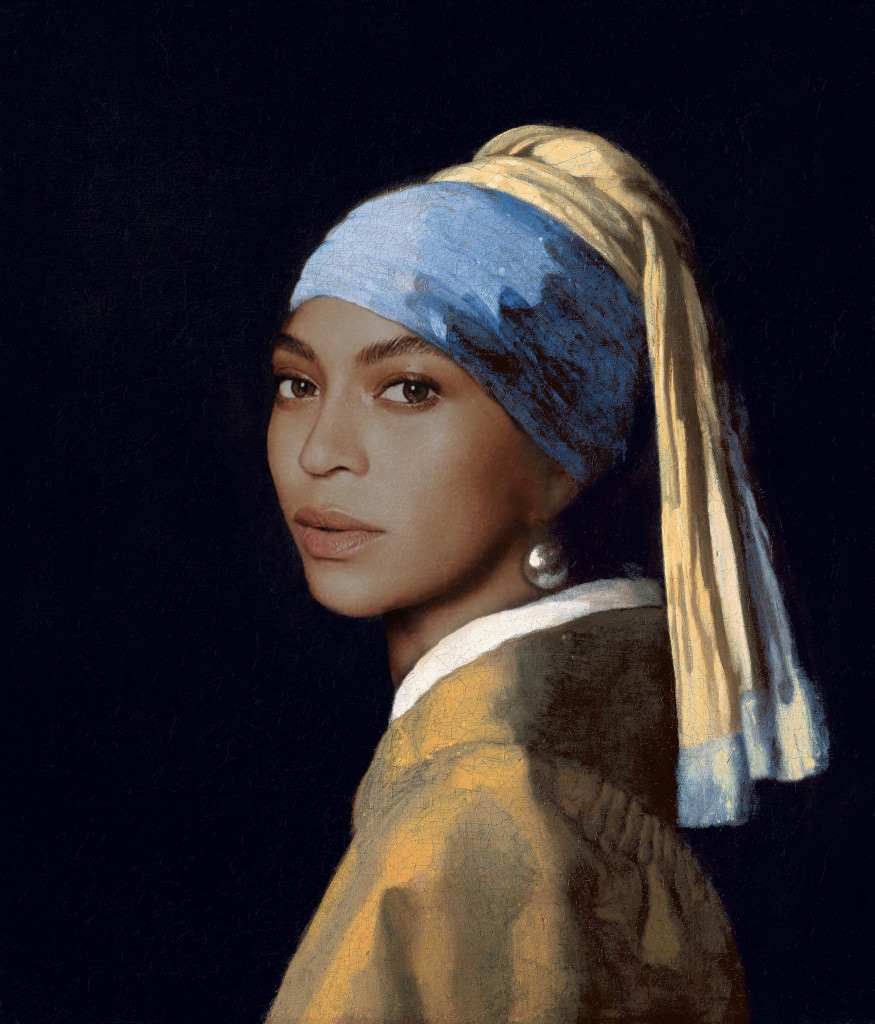
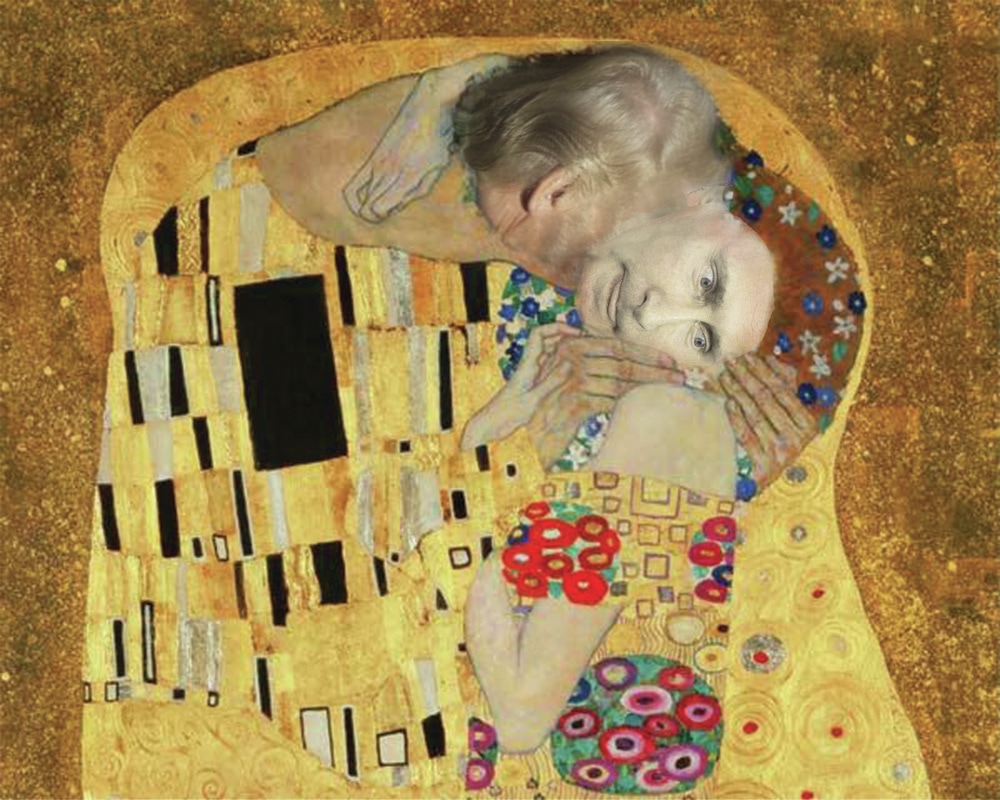
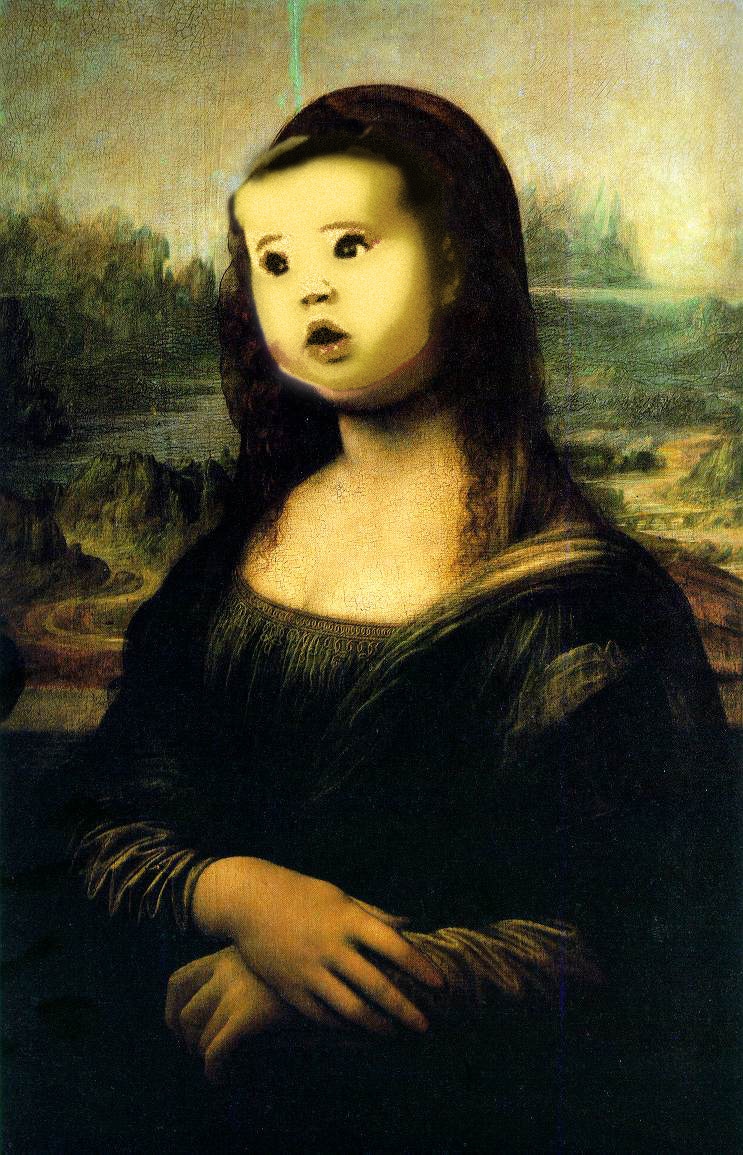
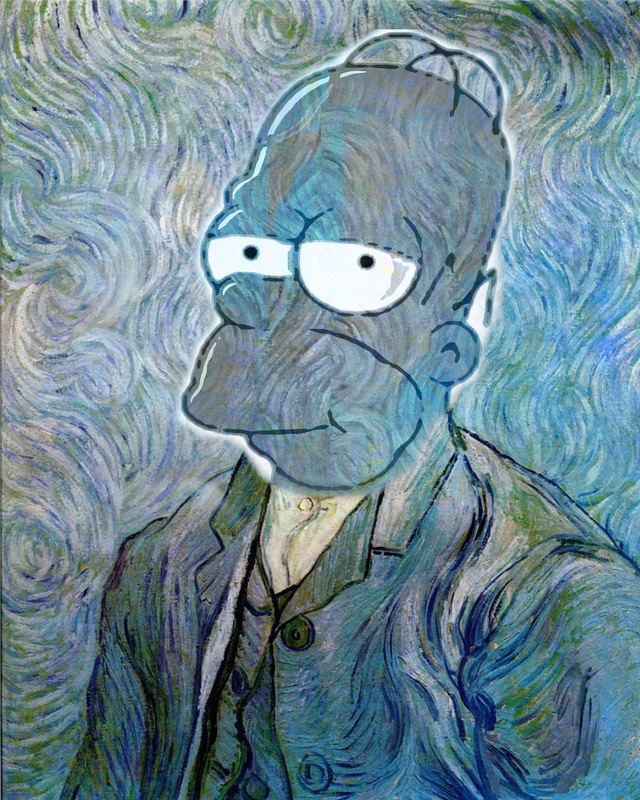
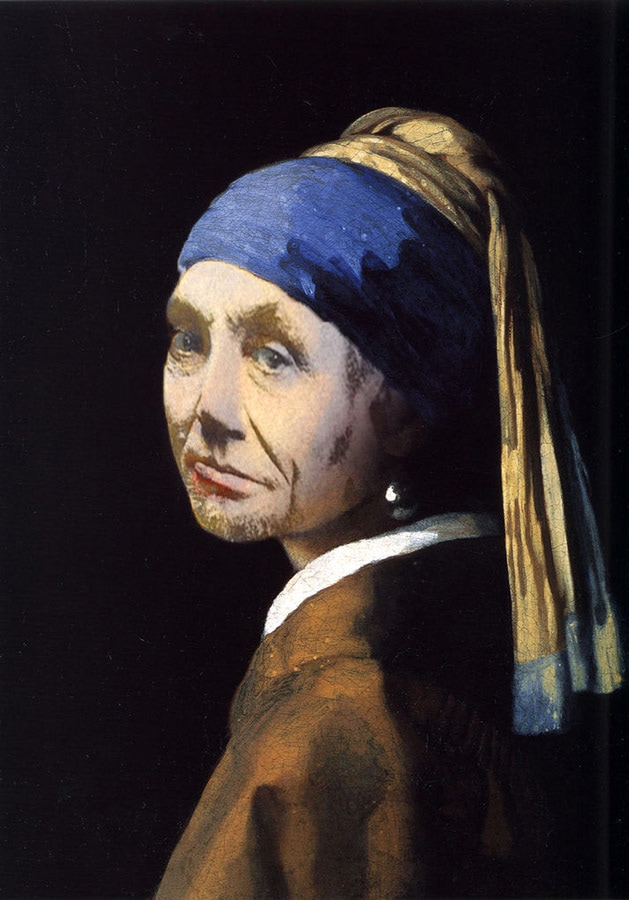
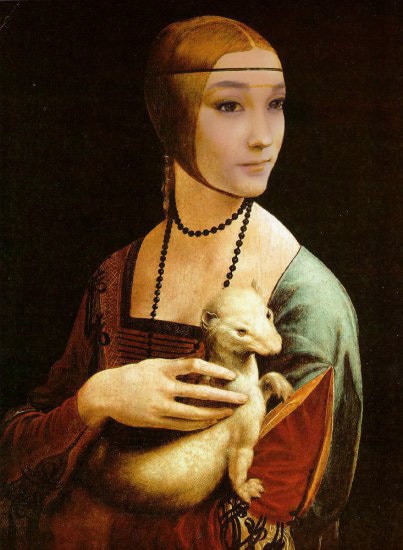
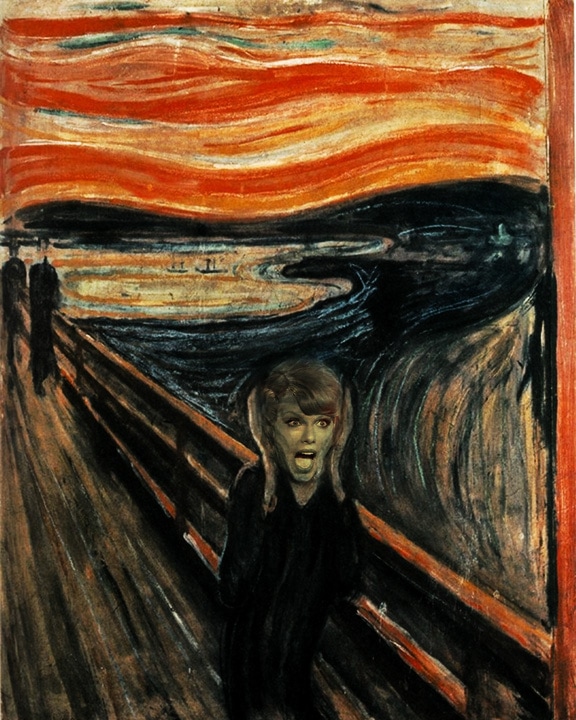
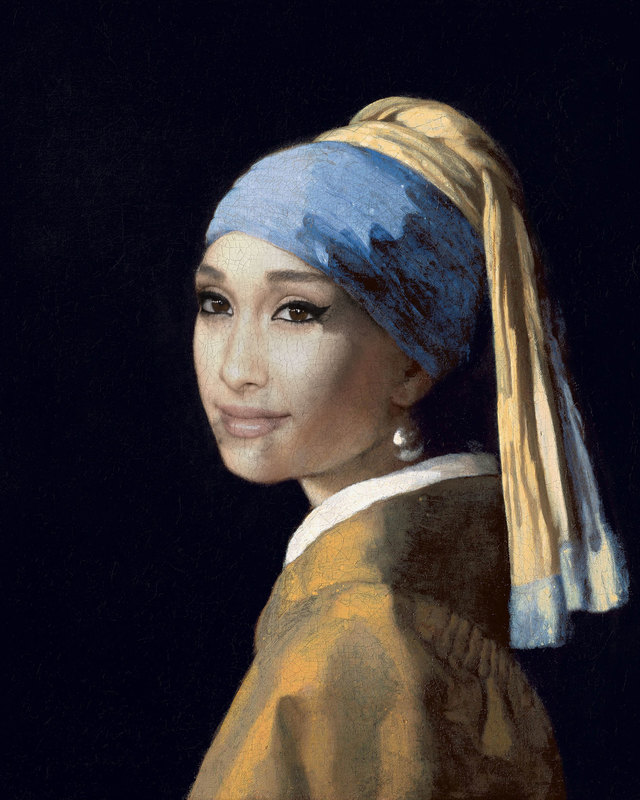
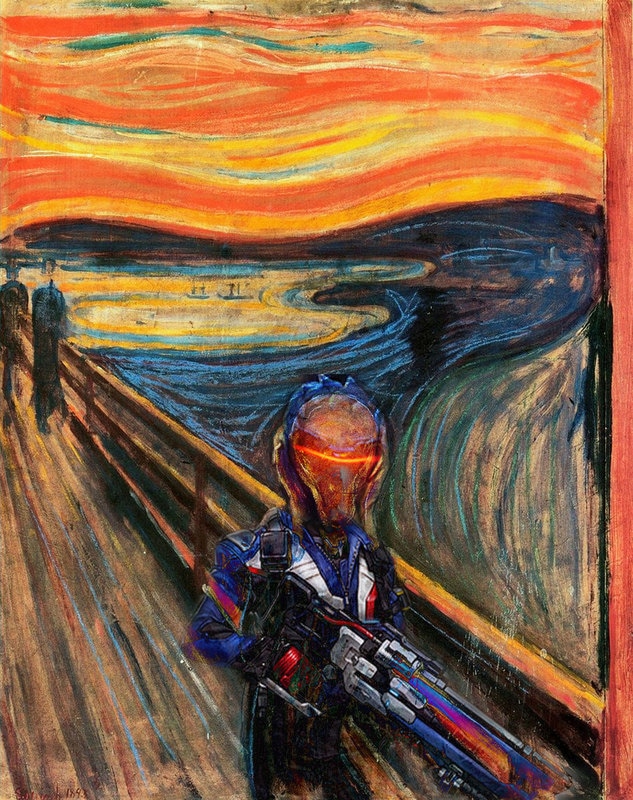
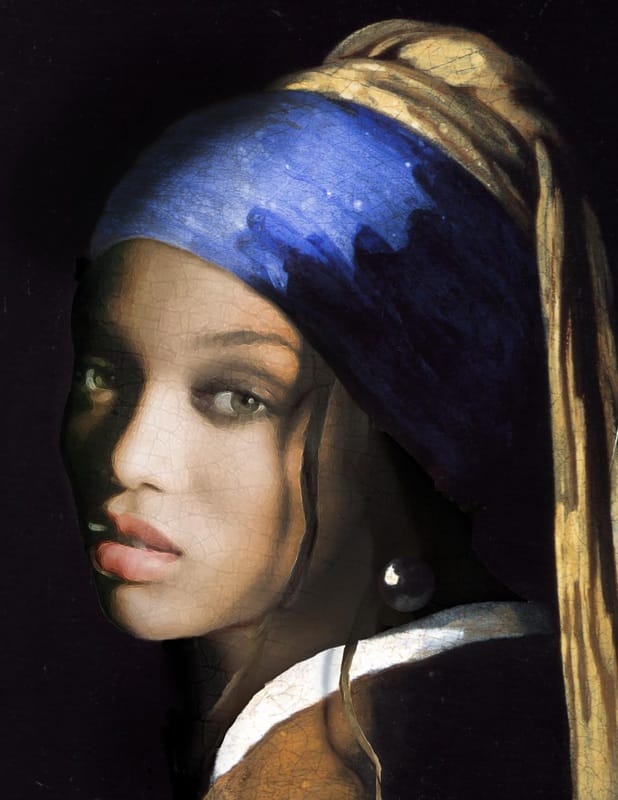
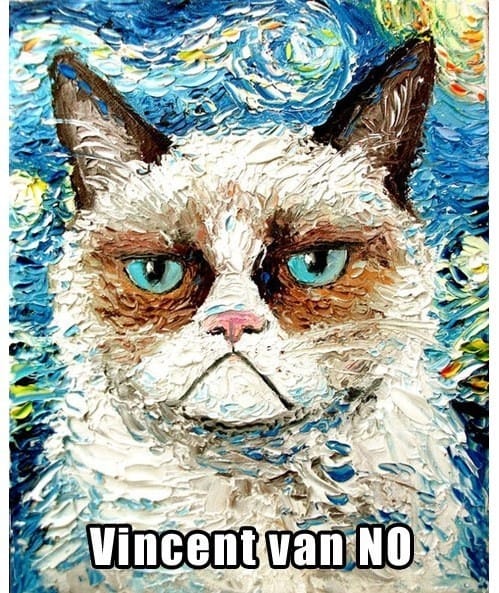
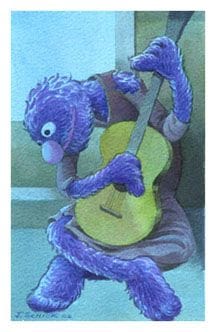
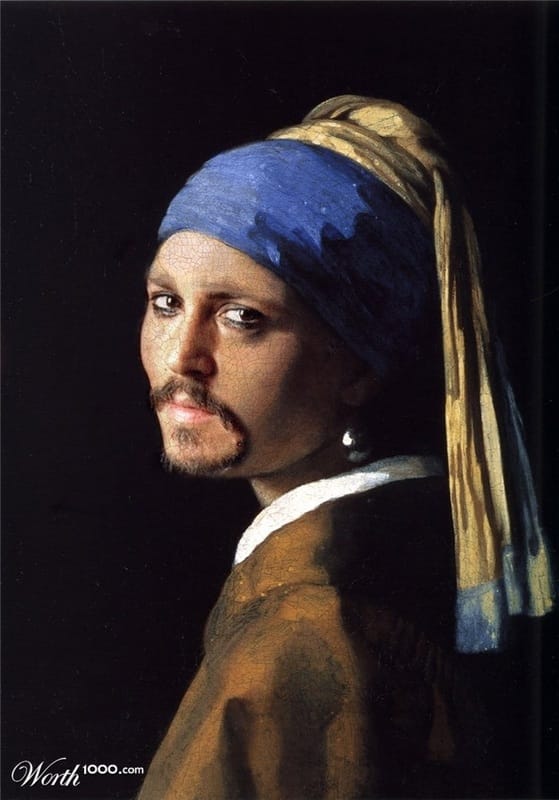
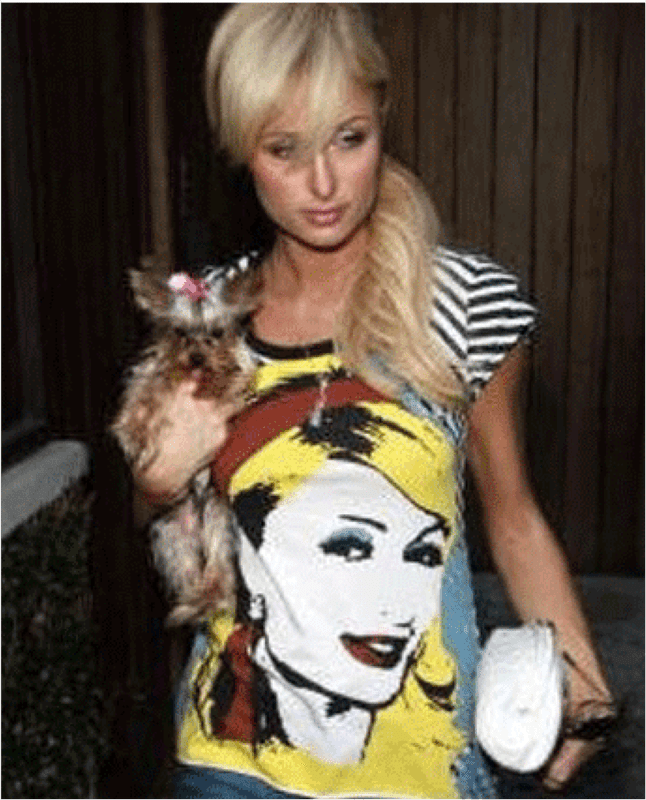
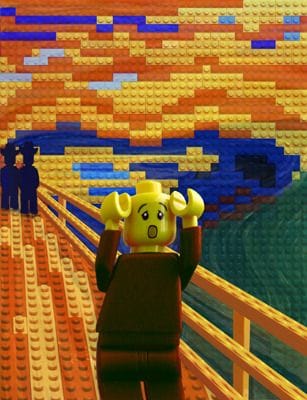
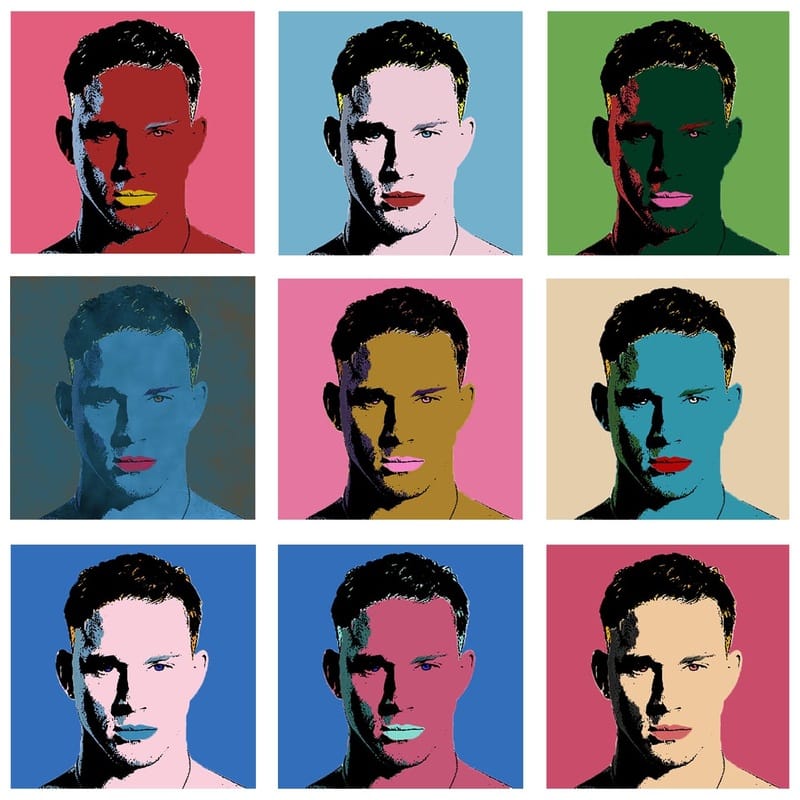
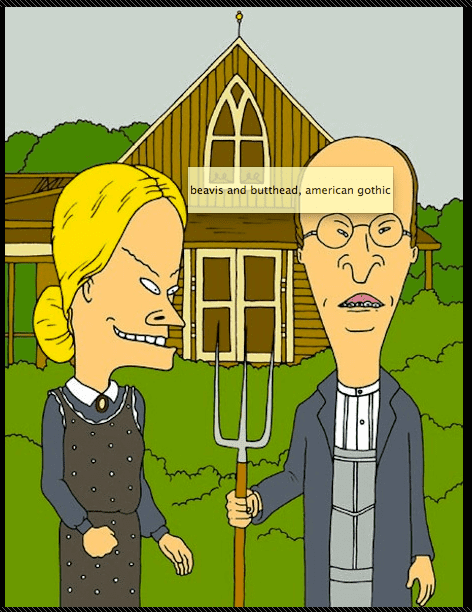
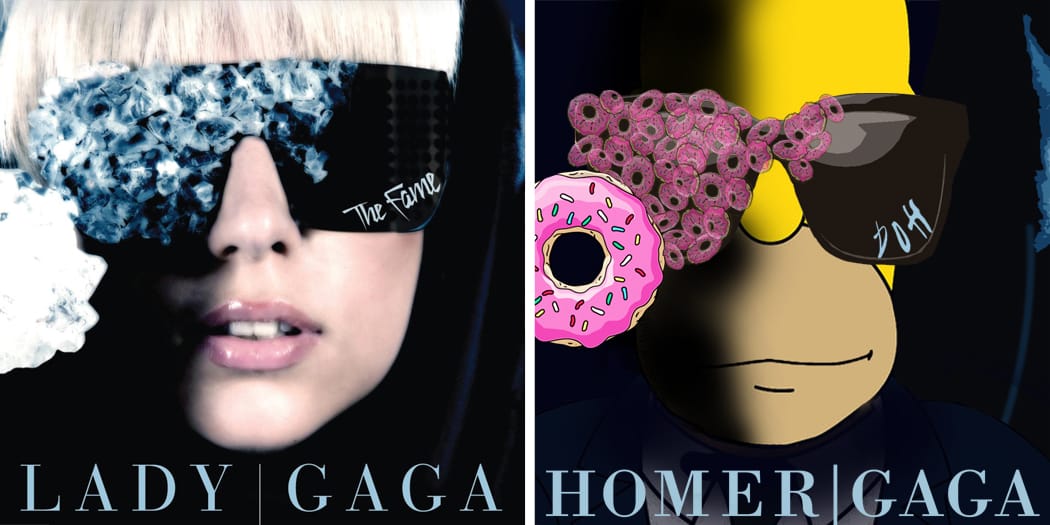
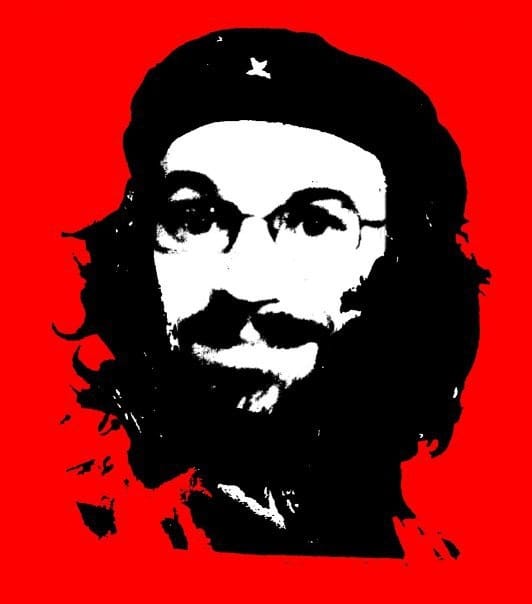
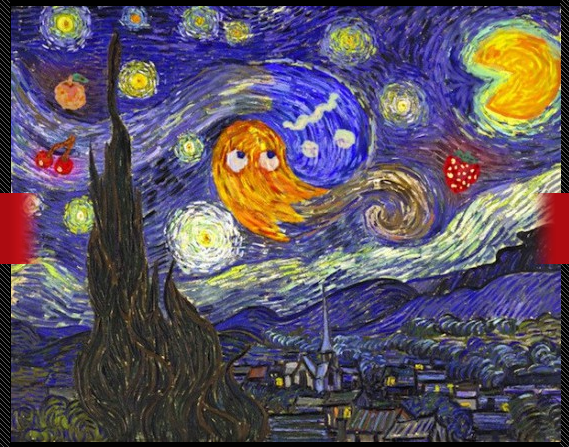
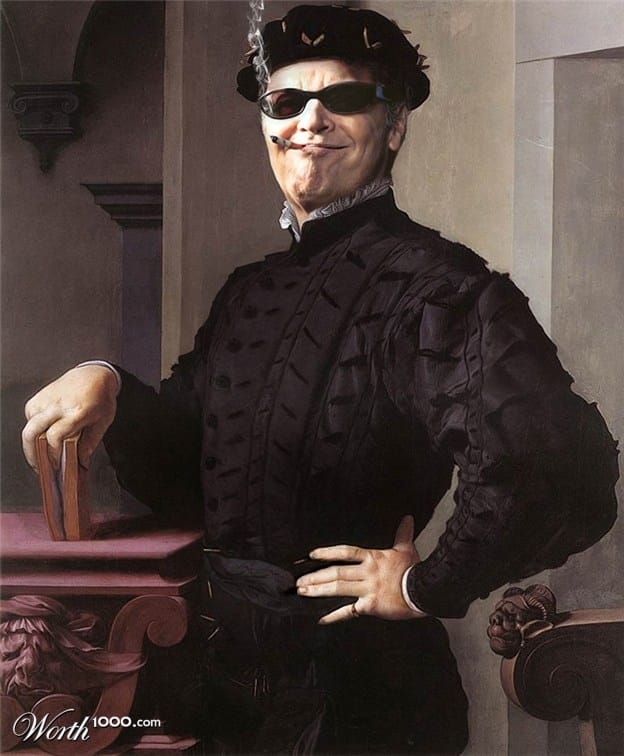
8" X 10" or 10" X 8" Dimensions 300 dpi (or ppi) Resolution CMYK Color Mode You must choose a piece of culturally significant art (painting, sculpture, photograph, etcetera) as the basis for your project, and keep a copy of the unmanipulated, original artwork as an unseen layer. The goal of this assignment is for you to place a celebrity or public figure into the artwork you have chosen. In order to do this successfully (in order to get a good grade on this assignment), your final art must match the style (color, brush pattern, film grain, etcetera) of the original art; or your final art must match the style of the celebrity/public figure you have chosen. ExercisesExercise 5: Use the provided image to complete the following tutorial: Photoshop CS6 Blur Gallery – Field Blur  Video: Selectively Blurring Images in Photoshop CS6 Exercise 6: Use the provided image to complete the following tutorial: Photoshop Watercolor Painting Effect
For Project and Past Exercises, see last week.
In Which Group Am I?
Groups 1 and 7 The Art of the Amarna Period of Ancient Egypt (from 1543 B.C.E through 1292 B.C.E.) Group 2 The Art of Middle to Late Archaic Greece (from 620 B.C.E. through 480 B.C.E.) Group 3 Art of the Early Roman Empire (from 27 B.C.E through 161 C.E.) Group 4 The Insular Art of the British Isles (from 500 C.E. through 1000 C.E.) Group 5 The Art of the Italian High Renaissance (from 1475 C.E. through 1525 C.E.) Group 6 The Art of the Romantic Era in Europe (from 1790 C.E. through 1880 C.E.) Prompts for Group Presentations:Trends and Styles of Art: Describe the trends and styles of art from the traditional culture or period in art history. Role and Purpose of Art: What is the role and purpose of art in the traditional culture or period in art history? Arts and Culture or Period: How does art from the traditional culture or period in art history reflect that traditional culture, or period in art history (how does the art reflect the culture or historical period)? Compare and Contrast Art: Compare and contrast art from the traditional culture or period in art history with your understanding of current trends in art (use the previous prompts to direct your comparison). Specific Art: Focus on a specific piece of art from the traditional culture or period in art history. How has the meaning of that piece of art been affected over time because of changes in interpretation and context (How was the art thought of then versus how is the art thought of now)? Remember: This is an art presentation; be sure to include relevant art. Do not include unrelated information or images in your presentation. ExercisesExercise 1: Use the provided image to complete the following tutorial: The Luminosity Blend Mode In Photoshop
Exercise 2: Use the provided images to complete the following tutorial: How to Use Textures to Enhance Your Photographs
Exercise 3: Use the provided image to complete the following tutorial: Comparing The Levels And Curves Adjustments In Photoshop  Exercise 4: Use the provided image to complete the following tutorial: How to Adjust Specific Colors with Hue & Saturation Adjustment Layers in Photoshop  January's First ProjectDue Friday, January 13th, 2016ish? 8" X 10" or 10" X 8" Dimensions 300 dpi (or ppi) Resolution CMYK Color Mode You must choose a piece of culturally significant art (painting, sculpture, photograph, etcetera) as the basis for your project, and keep a copy of the unmanipulated, original artwork as an unseen layer. The goal of this assignment is for you to place a celebrity or public figure into the artwork you have chosen. In order to do this successfully (in order to get a good grade on this assignment), your final art must match the style (color, brush pattern, film grain, etcetera) of the original art; or your final art must match the style of the celebrity/public figure you have chosen. VocabularyQuiz: Friday, January 13th, 2017
Line: An element of art that is used to define space, contours, and outlines, or suggest mass and volume. It may be a continuous mark made on a surface, or emplied by the edge of shapes and forms. Shape: A two-dimensional area with a recognizable boundary. Geometric Shapes: Mechanical, human-made shapes; such as squares, triangles, circles, etcetera. Geometric shapes have regular edges as opposed to the irregular edges of organic shapes. Form: An element of design that appears three-dimensional and encloses volume; such as a cube, sphere, pyramid, or cylinder. Sculpture in the Round: A freestanding, three-dimensional form, meant to be seen from all sides. |
Archives
September 2019
Categories |


 RSS Feed
