Exercises
New
9) Masking using Clipping Path/ Opacity Mask: Create and turn in an Illustrtor document that includes an example of a Clipping Mask, and an Opacity Mask. Due Wednesday, September 19th, 2018
Video: Create a basic clipping mask
10) Basic Text: Create and turn in an Illustrtor document that includes text created using the Area Type Tool, text typed on a Path, and Outlined Text. Due Wednesday, September 19th, 2018
Video: Work with type
Demonstration: Expand objects
Older
1) What is Illustrator? Review the webpage, and fill out this form. Due Friday, August 31st, 2018
Video: What is Illustrator?
2) Getting Started in Illustrator: Review the webpage, and fill out this form. Due Friday, August 31st, 2018
Videos: How to set up a new document
3) Drawing Basic Shapes: Create a "character" with Illustrator using nothing but the shape (Rectangle, Ellipse, Polygon, etcetera) tools. Your character must include a star that has been manipulated with the direct select tool, and a square that has been rotated 45 degrees. Due Wednesday, September 5th, 2018
Video: Use Shape tools
4) Using Brushes: Create an interior scene with Illustrator Your interior scene must include at least three different types of brushstrokes from three different types of brushes in the Brush Library; each must have different Artistic Brush Strokes applied to them (including one Calligraphy Brush Stroke), a rectangle with border pattern applied to it, and a line that has a pattern brush (that you have created) applied to it. Due Wednesday, September 5th, 2018
Video: Use Brushes
5) Working with Color and Strokes: Create an image (you could draw a character or a scene -- whatever you want) using Illustrator that includes three stars, and two circles. The first star should have a Miter Join, the second star should have a Round Join, and the third star should have a Bevel Join. The first circle should be filled with a Color Gradient, and the second circle should be filled with a Pattern Fill. Due Friday, September 7th, 2018
Videos: Apply colors, and Learn to use gradients
6) Transforming & Moving Objects: Add to your image from exercise five by including a Resized object, a Rotated object, a Reflected object, and a rectangle that has been transformed into a parallelogram using the Shear Tool. Due Friday, September 7th, 2018
Video: Transform artwork
7) Blending Shapes & Colors: Create and turn in an Illustrator document that includes an object that has "realistic shading" created with the Blend Function, and five (5) "distributed objects" using the Blend Tool. Due Friday, September 14th, 2018
Video: How to Work with Blended Objects
8) Creating Compound Paths: Create and turn in an Illustrtor document that includes an "Ancient Key" that you create by following the instructions on the website. Due Friday, September 14th, 2018
Video: The Shape Builder and Pathfinder in Illustrator CS6
Game: How to use Shape Builder
If you are finished with everything else)
a) Create a new Illustrator document, or continue working on the Illustrator document you began Friday. Use whatever tools you would like (it might be easiest to begin by using the Shape and Brush tools), and create something interesting. Focus on details, and fill the space. Save your work as an Illustrator (.ai) file in you H: drive, and save a copy of your work, as a Jpeg (Instructions: Video, and Text), in your H: drive, and post that jpeg to the Google Classroom website by the end of the period.
OR
b) Begin working on the The LOGO Project by completing Step One. *See "Step One" below
Project
Step One:
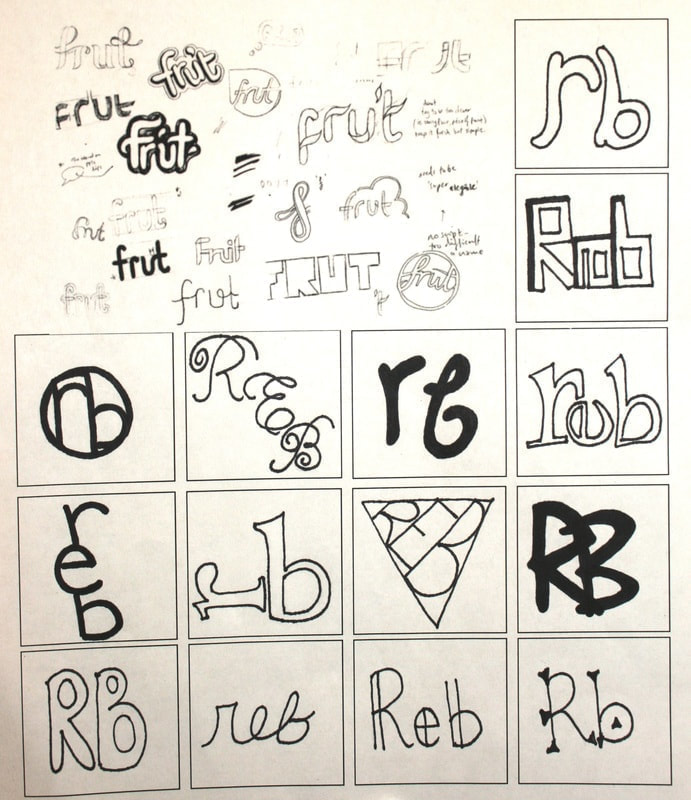
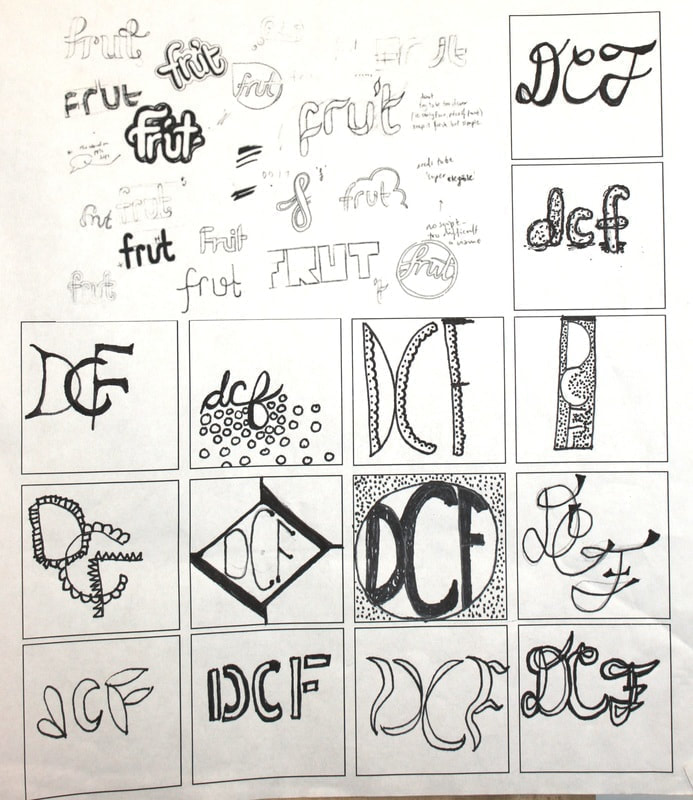
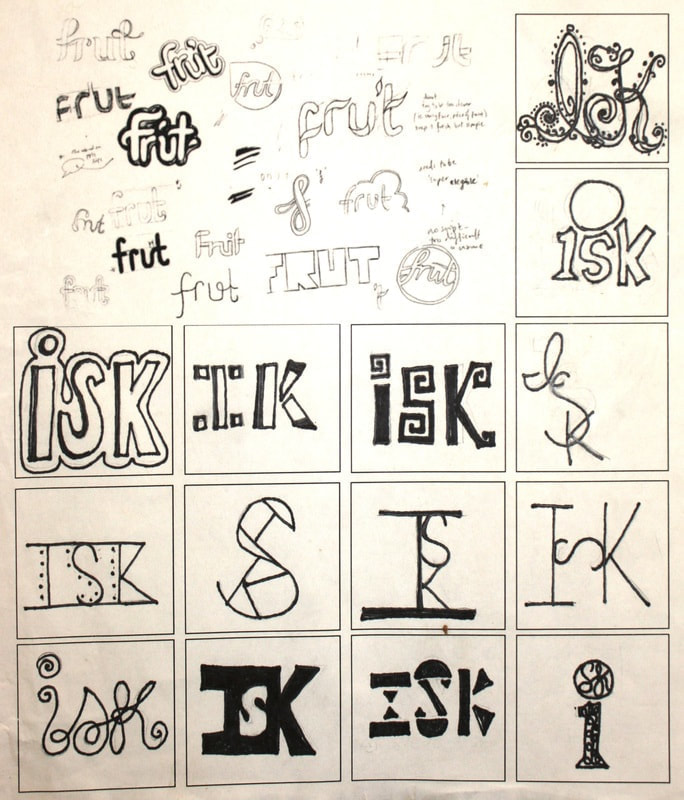
Use pencil or pen on paper to create A MINIMUM OF SIXTEEN COMPLETELY DIFFERENT examples of potential logos. Your logo must include letters. You could use your initials.
Use pencil or pen on paper to create A MINIMUM OF SIXTEEN COMPLETELY DIFFERENT examples of potential logos. Your logo must include letters. You could use your initials.


Step Two:
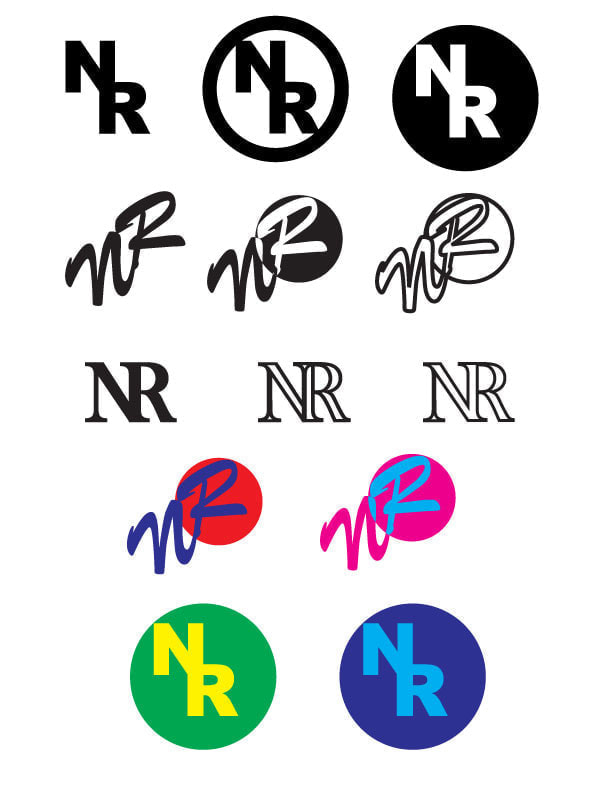
Select a MINIMUM of 3 of your favorite logos from step one, and recreate them - use the Type, Pen, Pencil, Line Segment, Paintbrush, Blob Brush, and Shape(s) tools to do this.
For each of those 3 logos, you are going to create a MINIMUM of 3 versions of each; for a total of 9. (Yes, you can do more!)
REMEMBER TO:
1. Keep it SIMPLE
2. Keep it MEMORABLE
3. Keep it TIMELESS
4. Keep it APPROPRIATE
and Keep it BLACK and WHITE (see the top 9 logo examples from the image below for a visual example of what is expected from you)
 RSS Feed
